
Wall Painting Like A Pro: Top Tips, Tricks, and Ideas
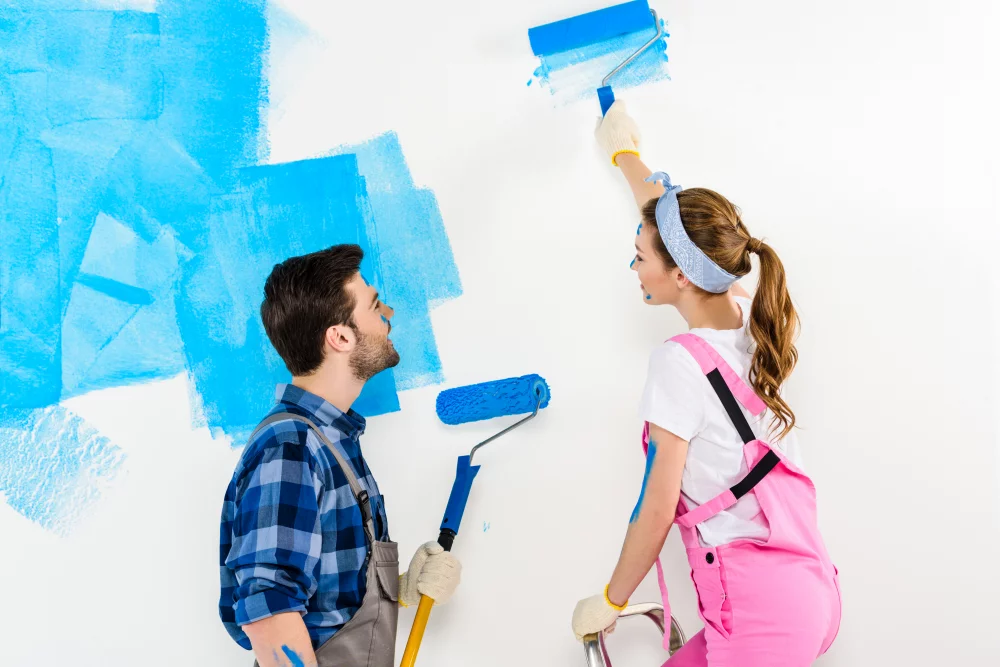
Remodeling your home? Applying a fresh lick of paint is hands-down one of the easiest and most effective ways to jazz up your space. Plus, it is arguably a budget-friendly upgrade that makes a world of difference in how the interior looks and feels.
While painting the walls is a relatively easy job, it goes beyond rolling up your sleeves and grabbing a paint roller. For a professional-looking finish, you should know the tips and techniques experts use.
In this article, we’ll guide you through the top tips, tricks, and ideas for painting jobs that look unique and professional while consuming minimal time.
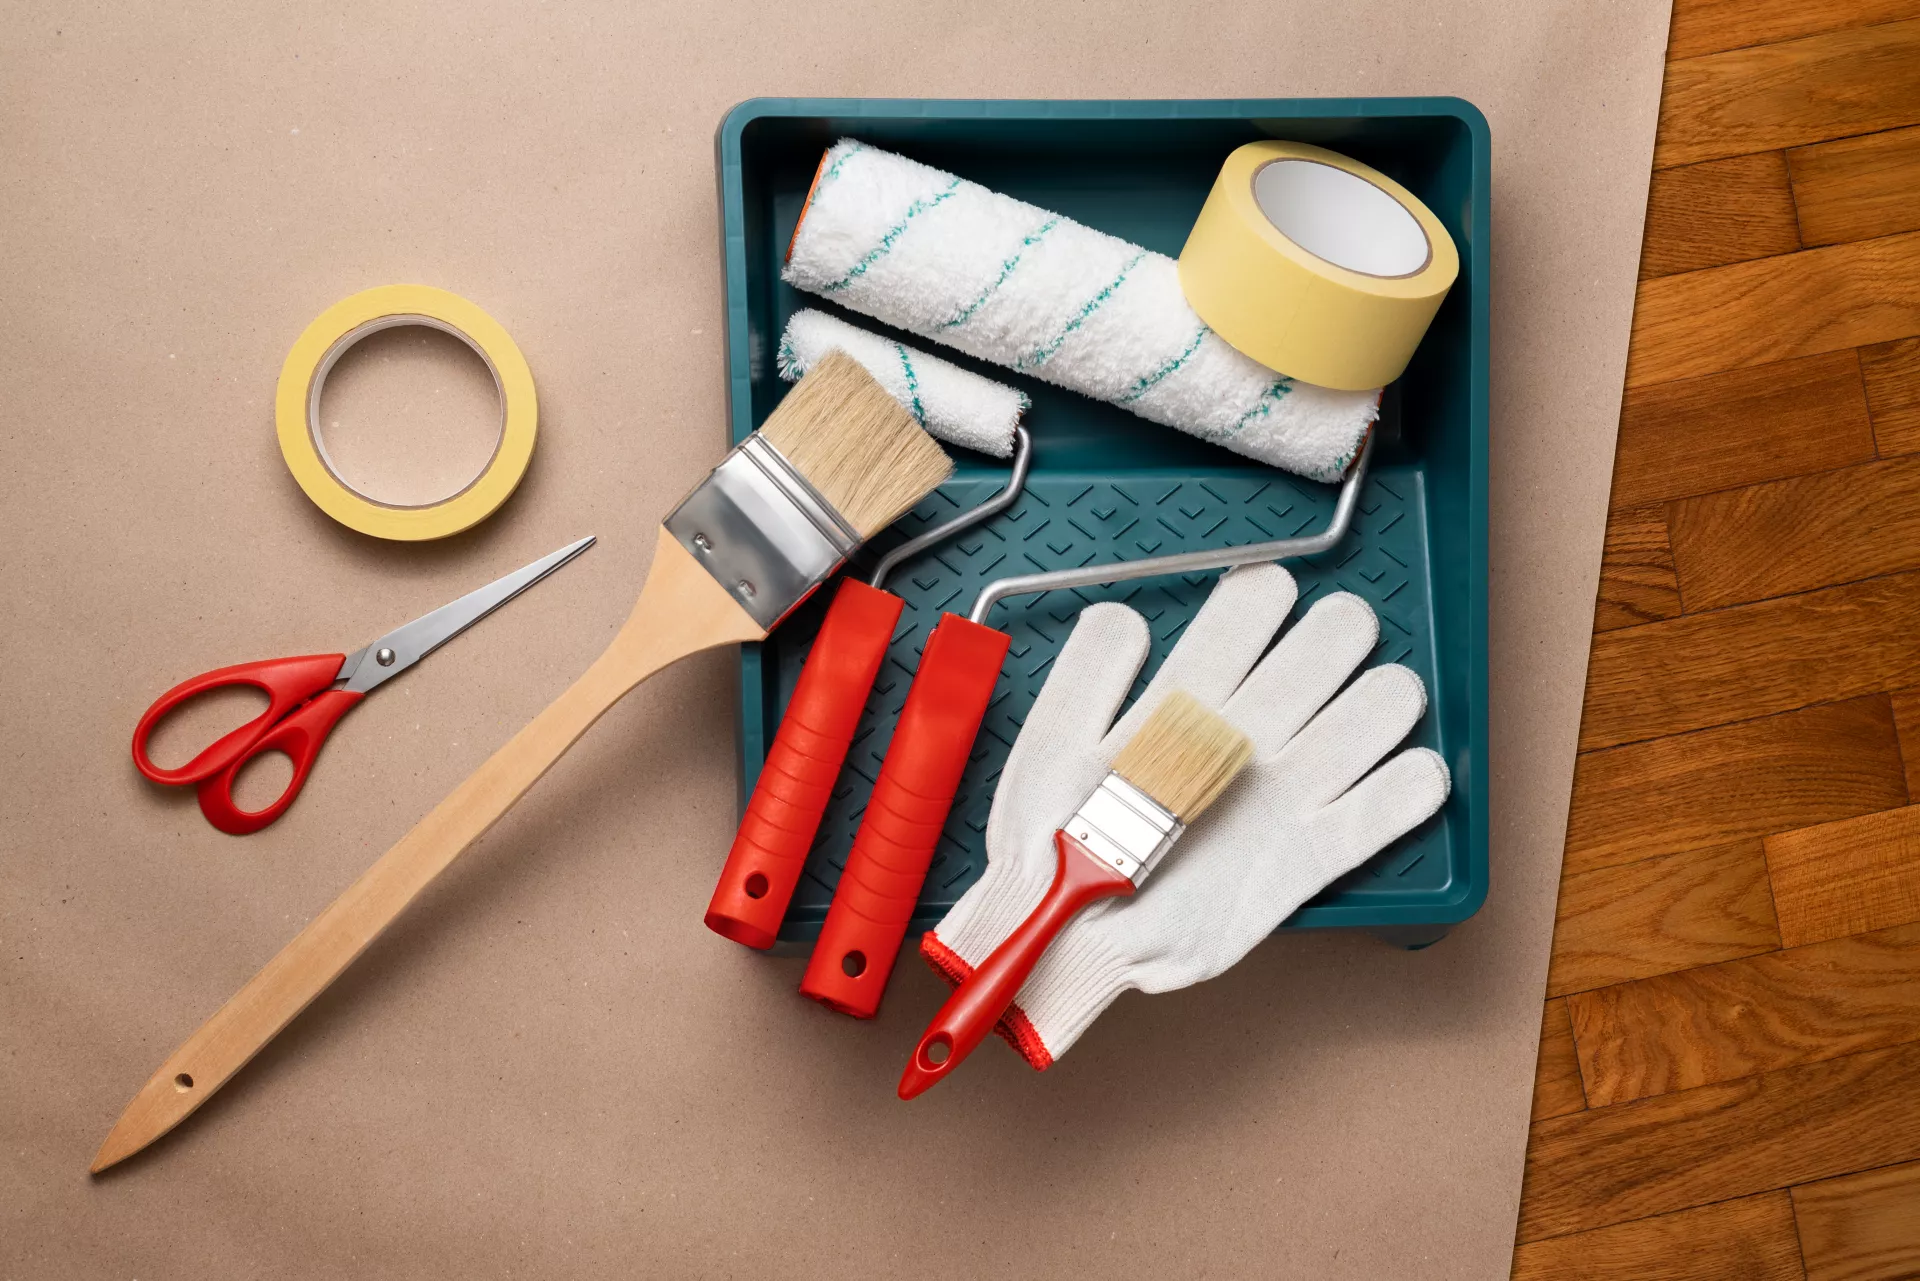
Materials Required For Wall Painting
Each painting project is unique, and may require varying tools and materials. Generally, items you will typically need include:
- Paint
- Paint roller
- Paintbrushes
- Extension pole
- Paint tray
- Sandpaper
- Painter’s tape
- Putty knife
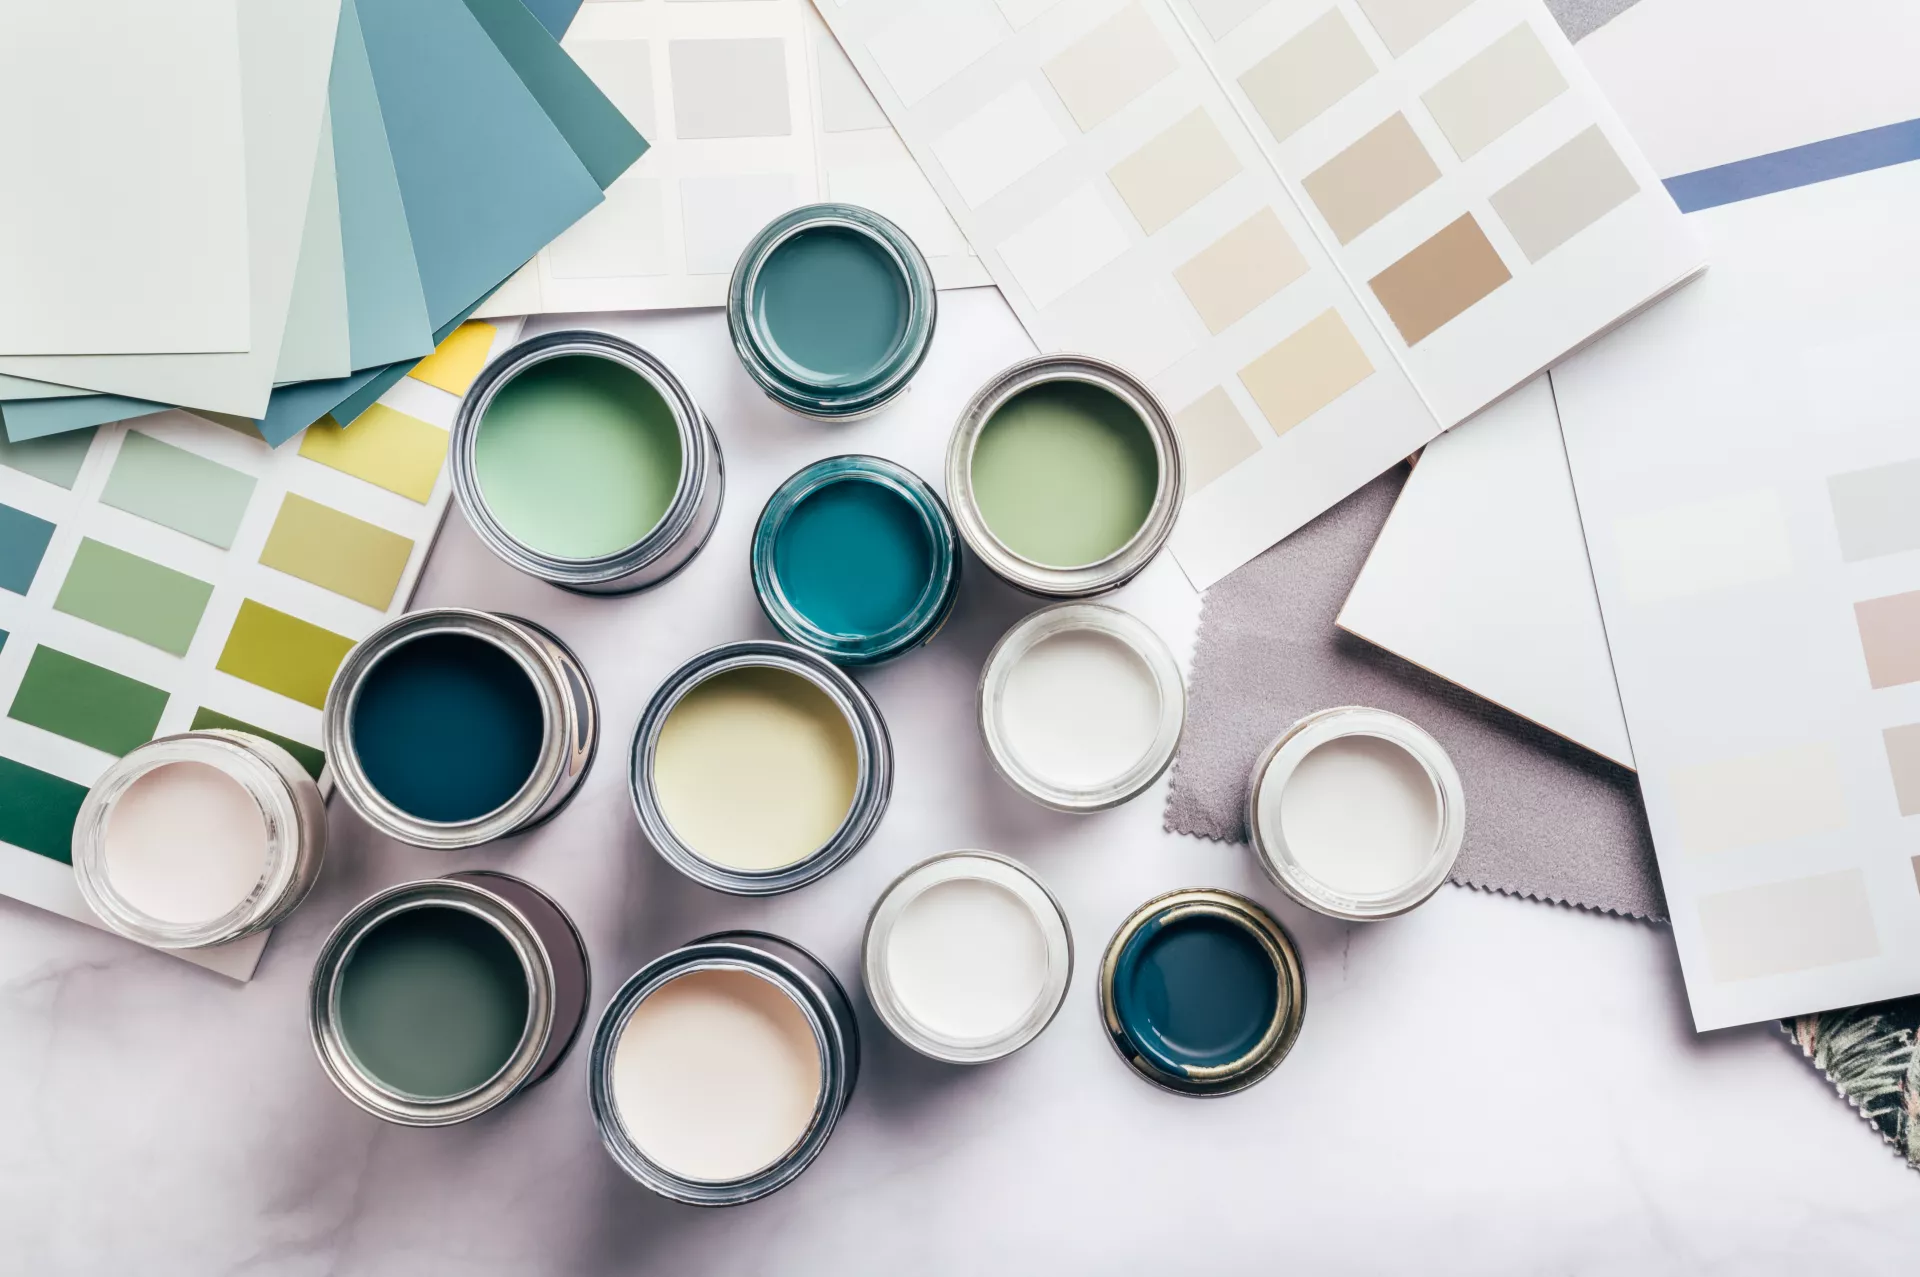
All of these supplies are readily available online (including Amazon) as well as in local stores near you. While purchasing paint, remember the rule of thumb: one gallon of paint per 400 square feet. For more accurate estimates, you can also use a paint calculator, such as that provided by Benjamin Moore.
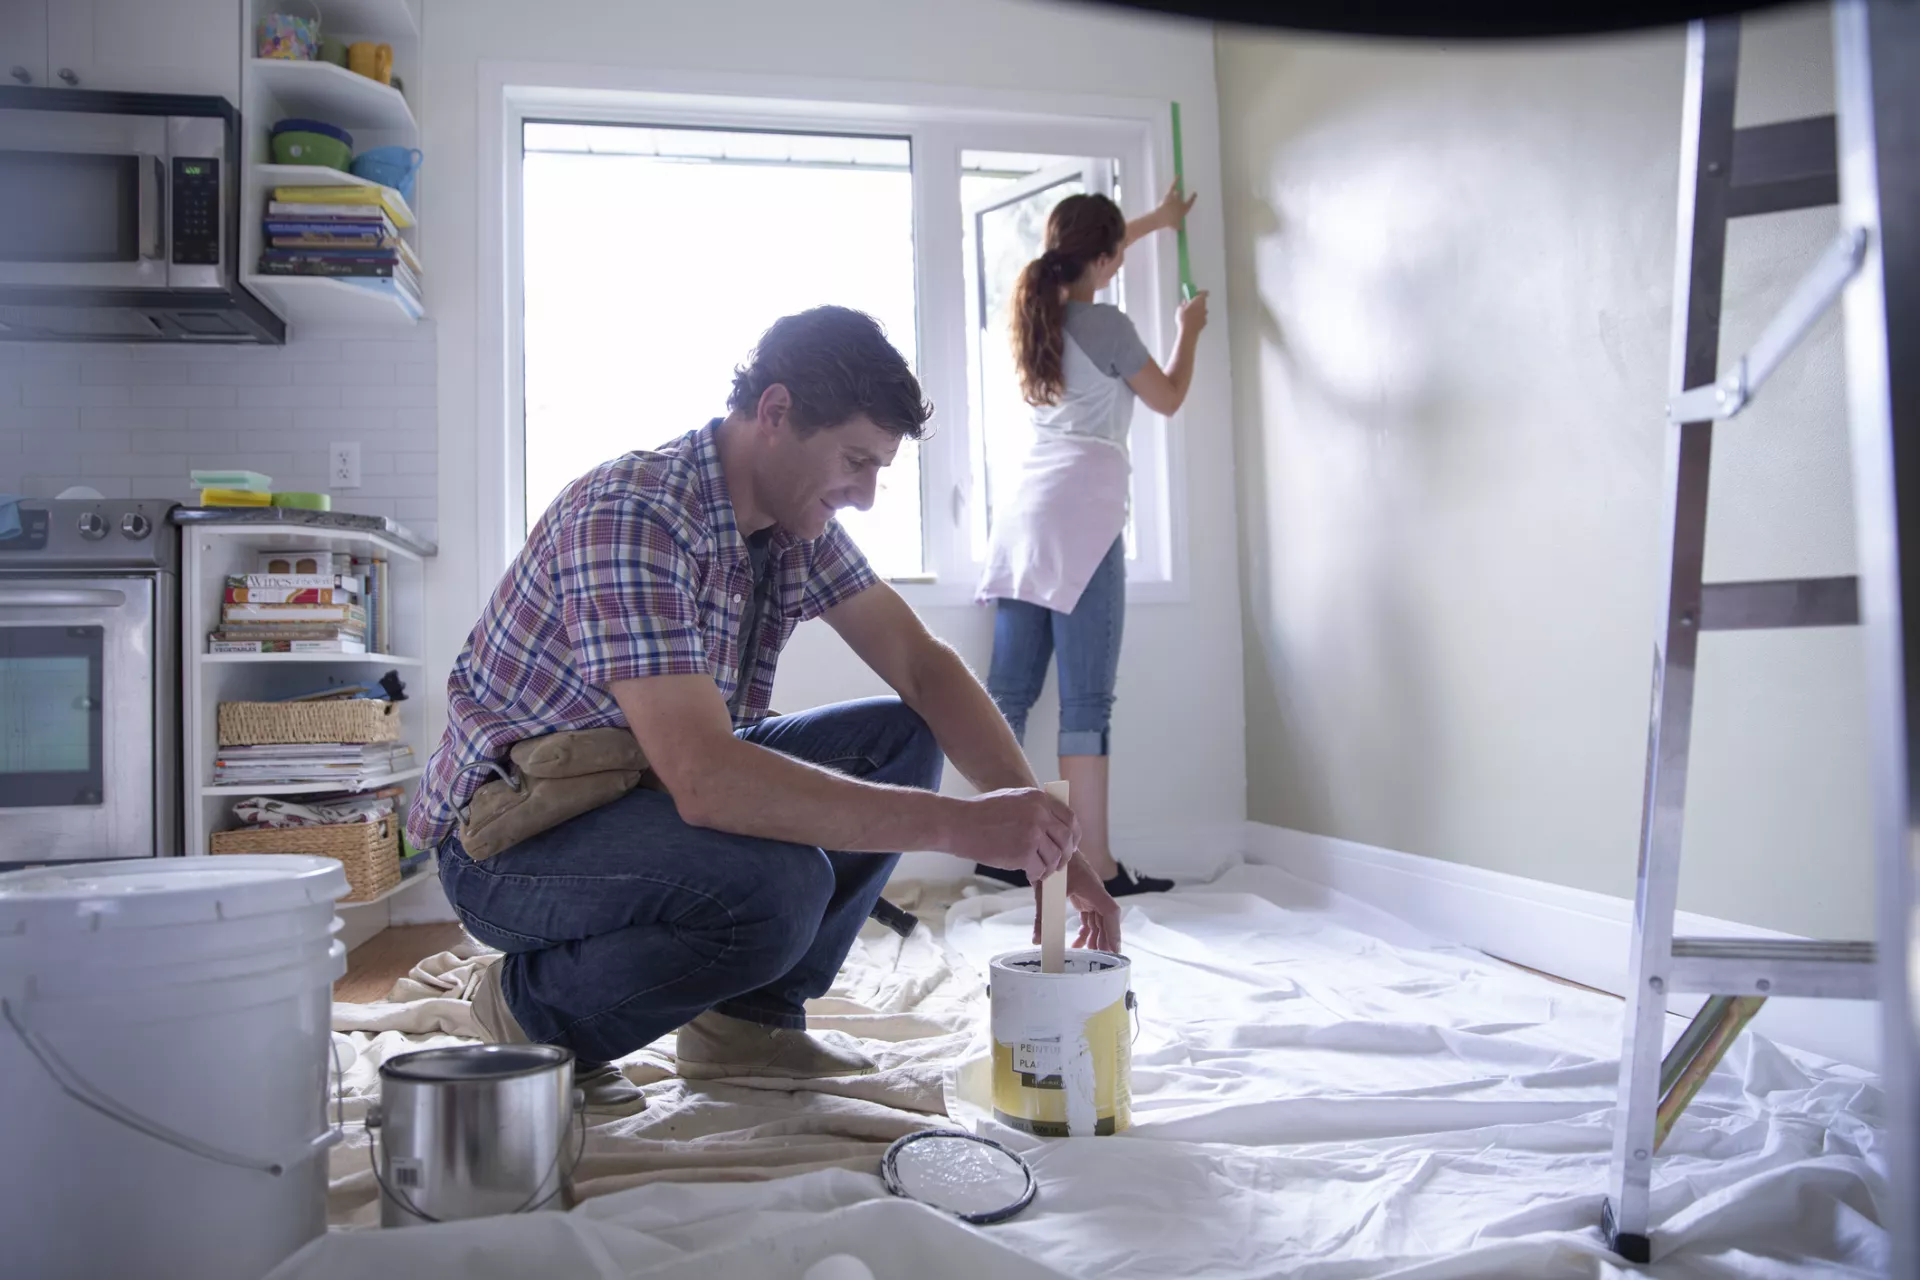
Preparation For Wall Painting
Prepare your room for wall painting by making space. You can do so by shifting the furniture to another room (or to the center of the room you are working in). If you opt for the latter, be sure to cover the furniture pieces as well as the flooring with drop cloths or plastic sheets. Next, inspect your walls for any damage. If found, be sure to repair it before starting the painting job. If you notice any rough spots, you may want to sand them to ensure the surface is smooth for a fresh layer of paint.
When To Change Paint Colors
At times, stubborn stains and damage to walls can be impossible to fully remove. In that case, opting for a shift in color is the optimal choice. Choose darker colors — or paints with a textured finish — to conceal the imperfections.
Other instances when you may want to upgrade paint colors would be based on personal preference, that is, when you’re after a fresh look, or when you’re repurposing the room from, say, a gym to a nursery.
When To Use A Primer
It’s important to note that if you’re drastically changing the colors, you may need a primer. This helps block and seal stains, and prevents them from bleeding through the new coat. As a result, you can achieve better color accuracy and coverage. Primers are also required if you’re painting bare walls (for the first time), or over glossy and/or uneven surfaces.
Bear in mind: Some paints have built-in primer properties. These provide good adhesion and cover minor imperfections on their own. But if you’re dealing with heavy stains — or are moving from light to very dark hues — using an extra coat of primer will help achieve satisfactory results.
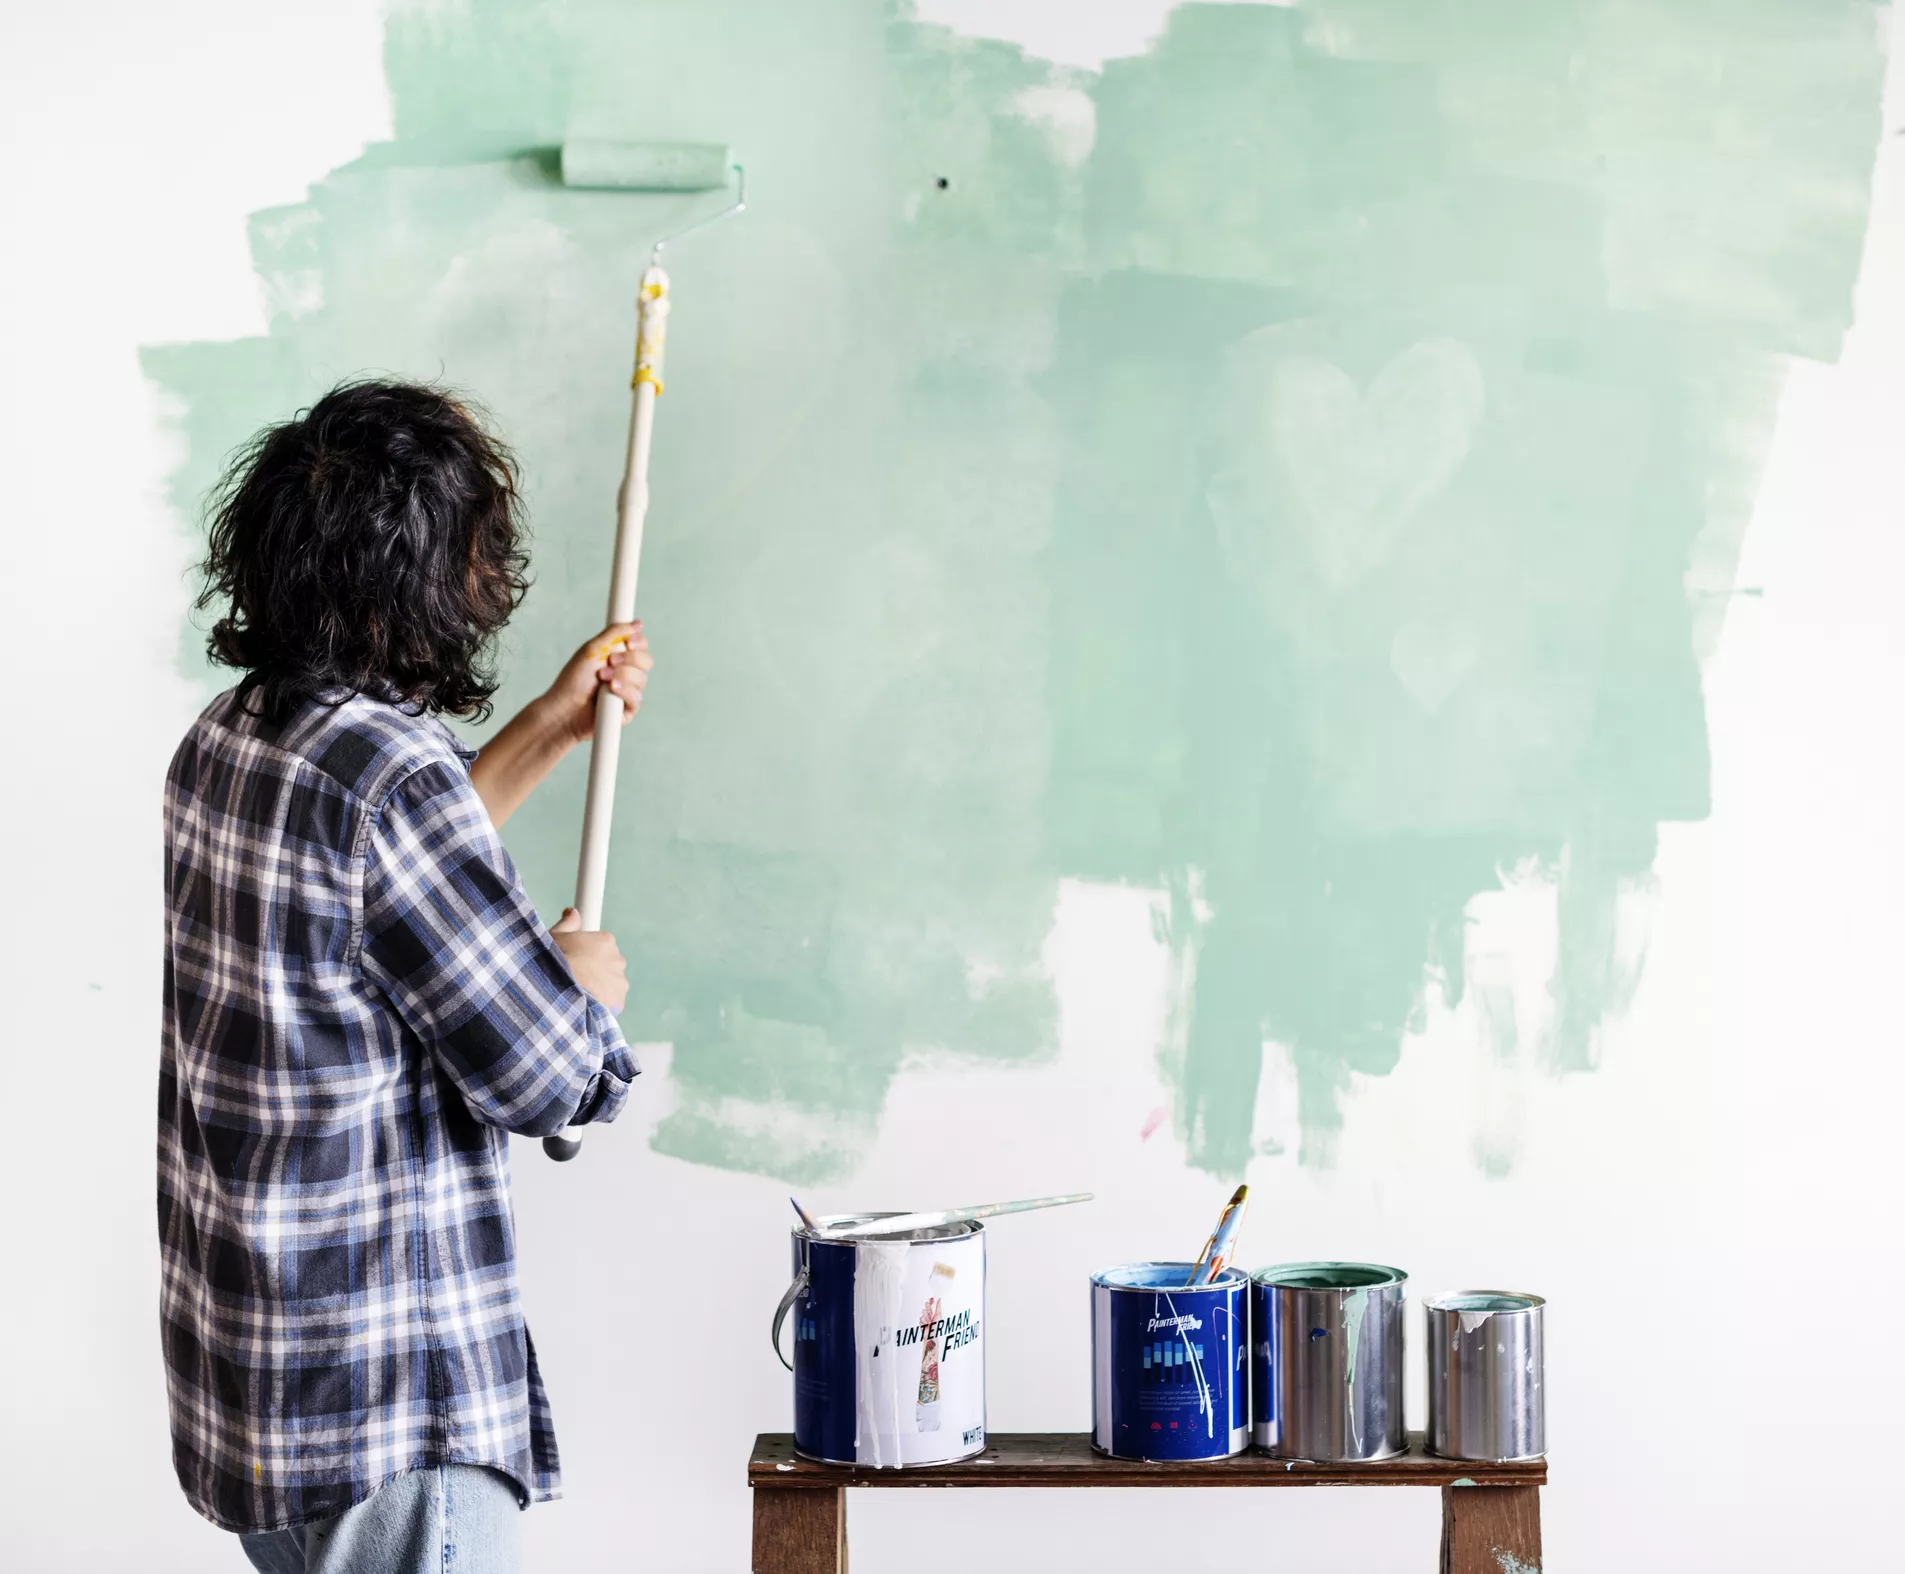
Techniques Of Wall Painting
While applying paint can be as simple as rolling it on with a roller, there are also multiple decorative paint techniques you can use for a professional look.
Color Washing
Use a soaked rag (or sponge) to apply latex glaze over your paint. For an inky appearance, move the rag in a circular motion.
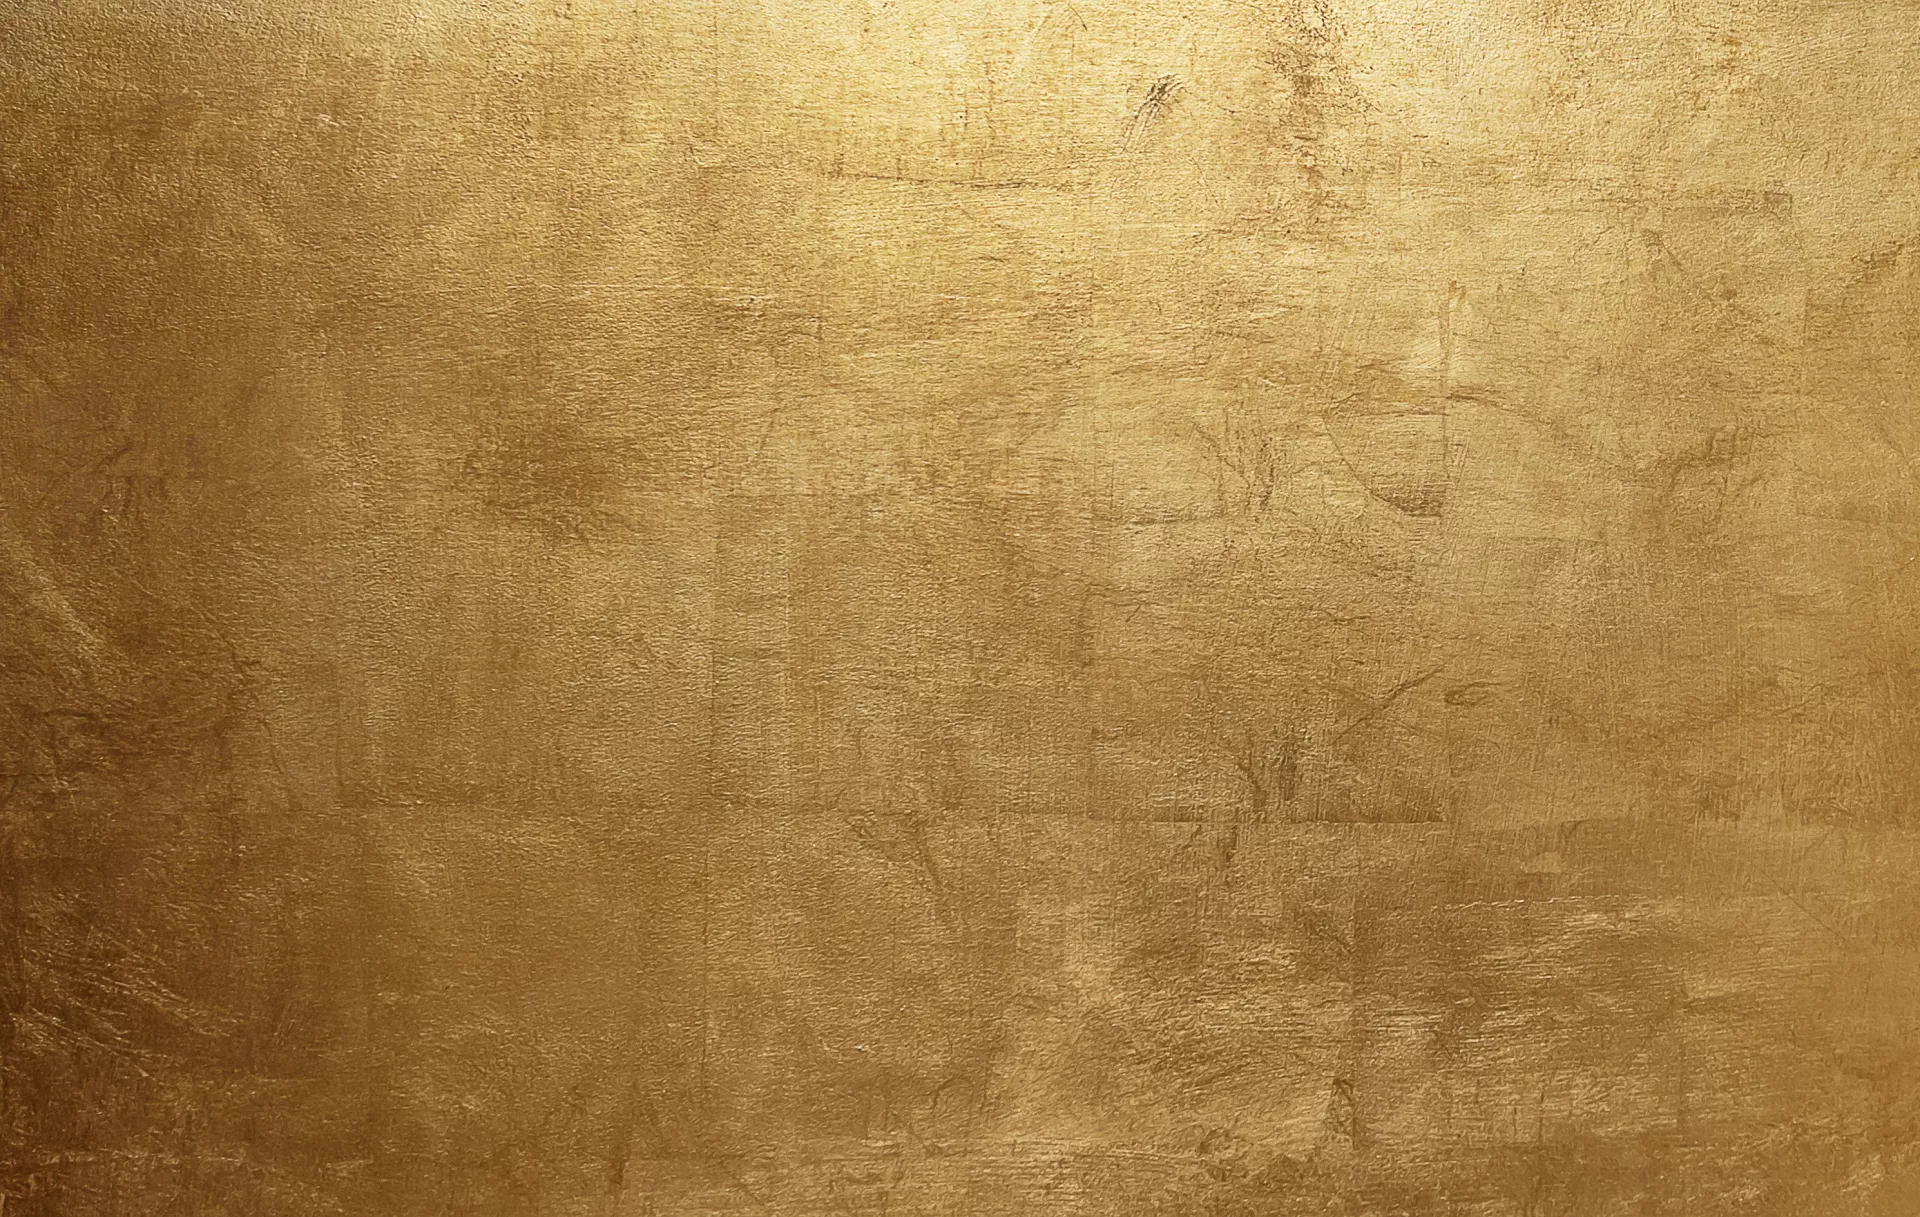
Gold Leafing
Gold leafing is a gilding treatment that applies shimmer to your walls. Begin by applying a gilding adhesive and then laying gold leaf sheets against it. If you’re having problems sticking the sheets, use a makeup brush to press them on.
Ombre
Create a seamless gradient effect by making a 50/50 blend of colors. The secret to keeping it coherent is using a 4-inch strip of both colors at the intersection.

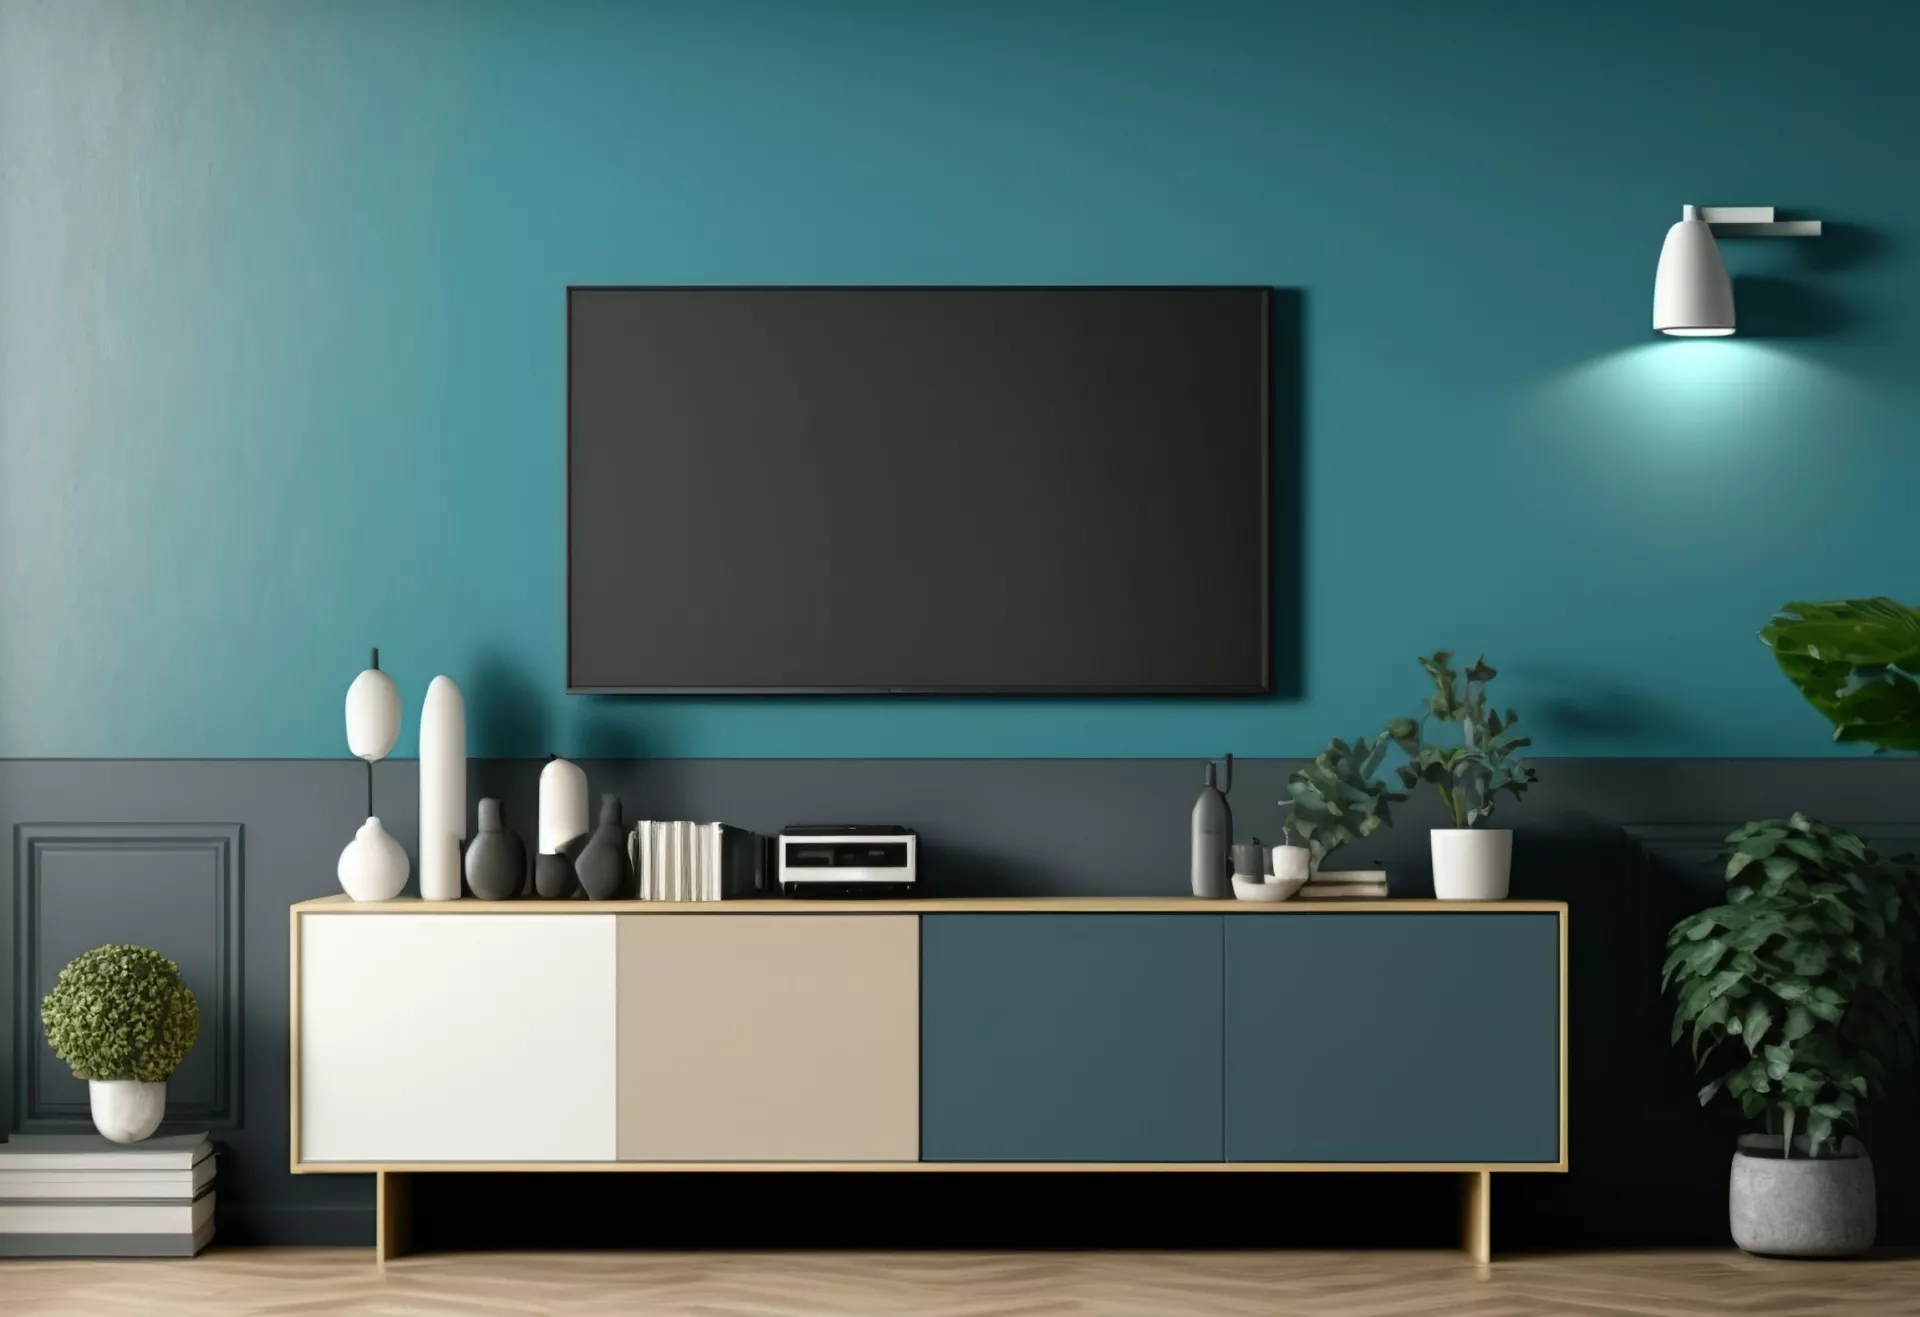
Half-Painted Walls
If you’re looking for an easy painting technique that creates the impression of architectural detail, half-painting a wall is a great idea. For ease, you can paint the top color first. Next, measure the height of the bottom hue and paint it. This helps create a smooth line between the different colors.
While painting, be sure to tackle one wall at a time. And don’t forget the ventilation — more on that below.
Focus On Ventilation
Painting projects require a well-ventilated space, especially if you aim for short and quick drying periods. Open up any windows and doors, and use plenty of fans. Keeping the humidity low is also essential, as paint takes longer to dry in humid environments.
Different Types Of Wall Paints
There are a variety of wall paints to choose from. For one, there are matte (flat) paints with very little shine. These provide maximum coverage and require the fewest number of coats. In contrast, semi-gloss and high-gloss paints are shiny and reflective, with the latter taking the prize in terms of gloss. These are durable and washable.
Paints with eggshell finishes have little shine but are durable, and suitable for low-traffic rooms. Finally, satin finishes have a velvety sheen and are easy-to-clean, making them ideal for high-traffic rooms, such as kitchens.
If you’re looking for non-toxic varieties, there are also eco-friendly paint options. These have little to no VOCs (harmful compounds emitted by paints). Acrylic and latex paints, as well as water-based ones, are also relatively safe. Oil-based paints, on the other hand, typically have a high VOC content.
How to Maintain and Clean Painted Walls
Maintaining painting walls simply requires dusting them often and wiping down any stains.
Vacuum your walls with a soft brush attachment. Next, use an electrostatic dusting spray or cloth-covered broom to wipe the walls down. Be sure to use a controlled amount of water during the process.
Generally, your painted walls will require deep cleaning once a year. Be sure to tend to stains, scuffs, and fingerprints soon after they appear — and your paint will last you for years to come.

Final Words
Done painting? You’re not just done yet. Be sure to invest time in cleaning up afterward. Remove any painter’s tape you used, gather drop cloths and plastic sheets, and reposition the furniture pieces. Also, clean up your paintbrushes before putting them away. And during the painting process — remember, each project is individual. Some may take a few hours, while others need weeks. So, patience is key!
Find more information about home remodeling in our BLOG.