


Water Damage Restoration Guide
Have those discolored walls and never-ending mold been keeping you stressed? Water damage is the reason — and this article has the solution!
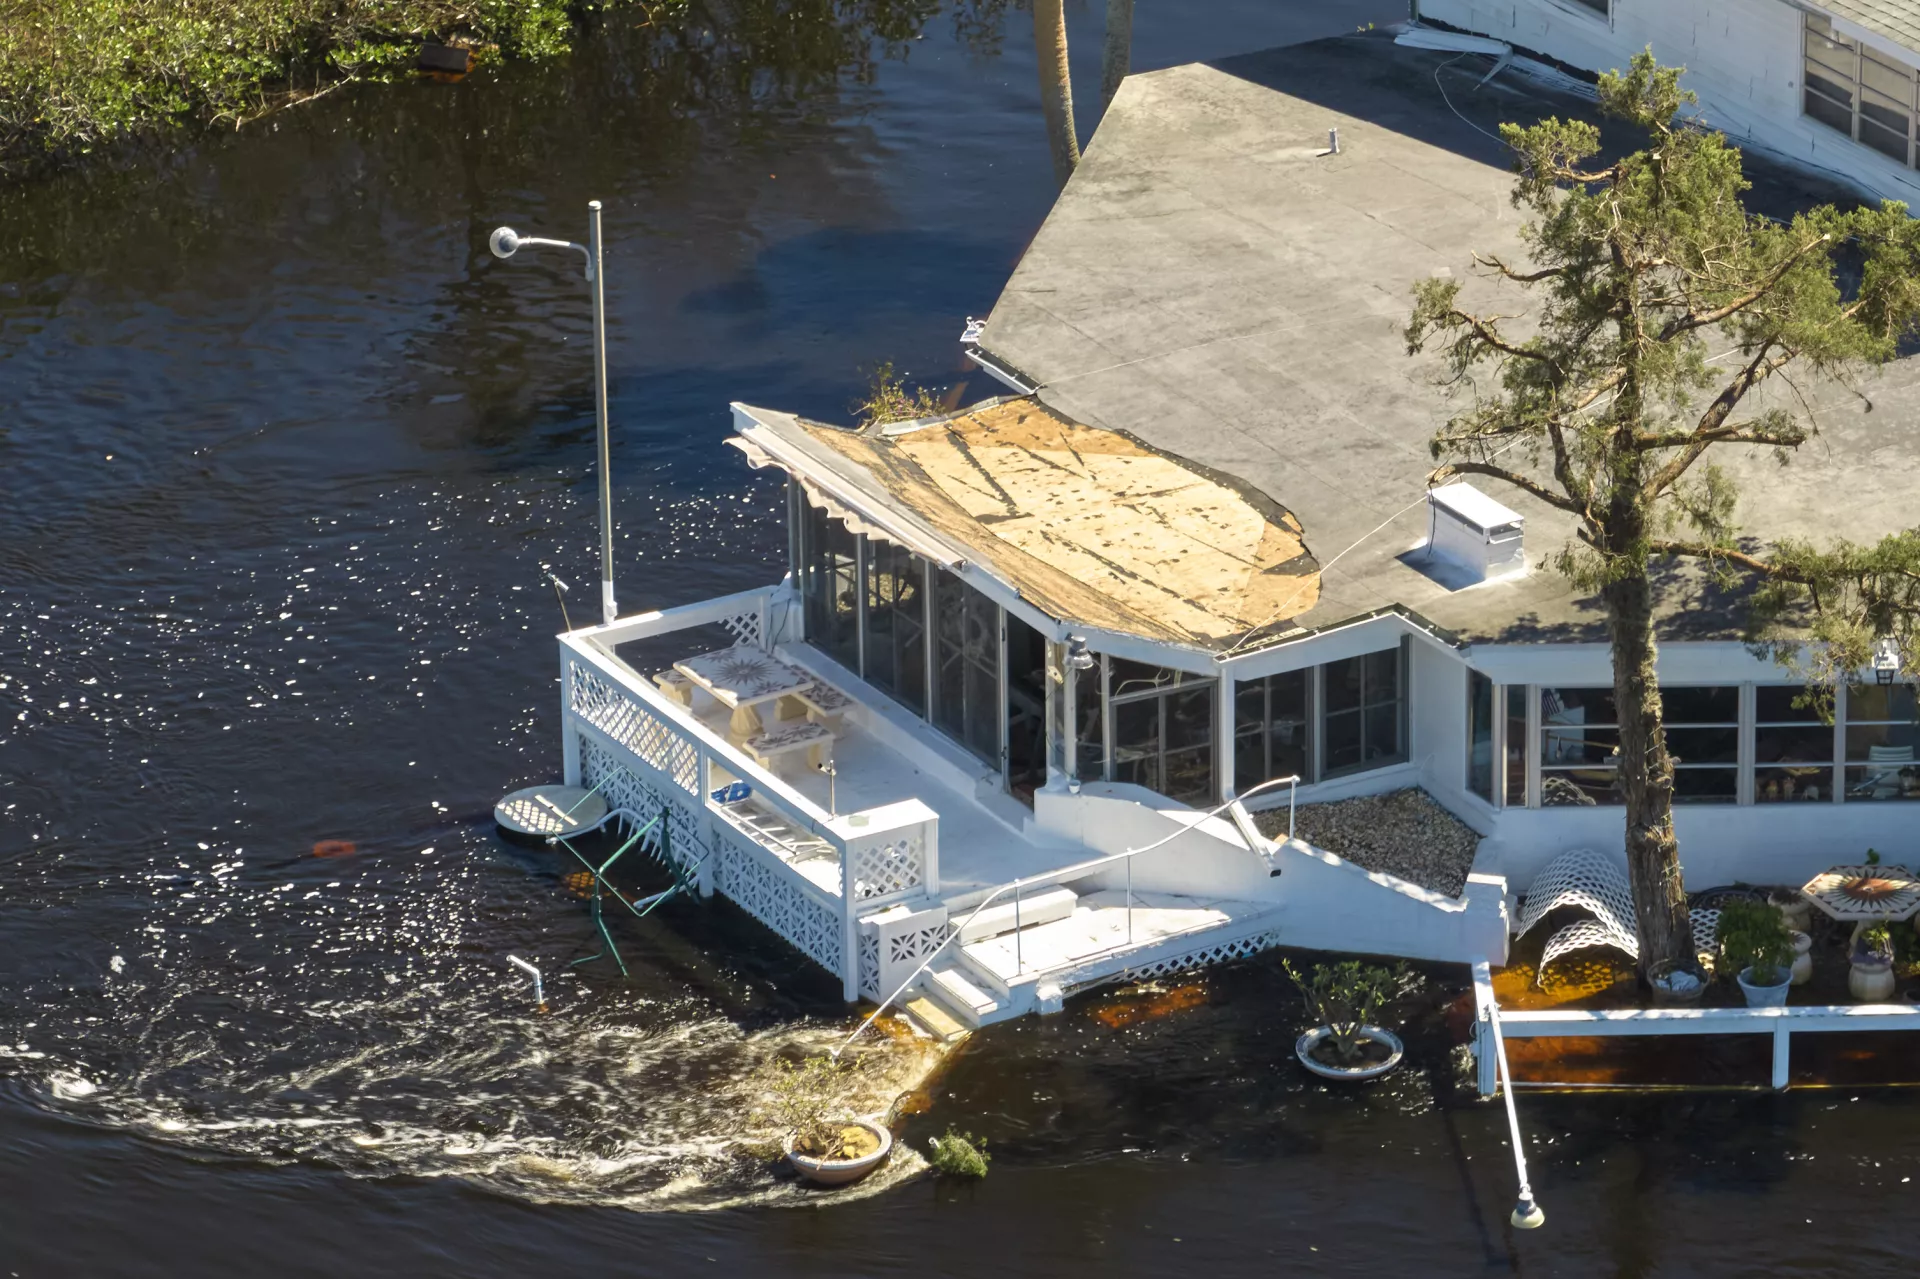
Water damage is responsible for the loss of billions of dollars every year. From leaking pipes and clogged drains to burst sewer lines and exposed water supply lines, there are numerous ways water can cause destructive damage to your home. But the good news is there are multiple effective water remediation processes to cater to the problem! Keep reading to learn all about it, including ways how to deal with such problems and minimize the damage caused.
What Is Water Damage Restoration?
Water damage restoration means restoring a home/property damaged by water to its original condition. It involves a series of steps, starting from water removal and ending at repairing — more on that in a minute.
The common causes of water damage include:
Plumbing leaks - caused by worn-out pipes, faulty plumbing fixtures, debris build-up in pipes, etc.
Roof leaks - caused by debris build-up, worn-out shingles, poor flashing, etc.
Flooding - caused by storms, heavy rains, overflowing rivers or streams, etc.
Sewage backup - caused by blocked or cracked sewer lines.
What Does Water Damage Affect?
The areas you should inspect for damage include:
Drywall
Plaster
Framing
Floor coverings
Pipes
Electrical wiring
HVAC
Appliances
How Long Does Water Damage Repairment Take?
The time taken for complete water damage restoration depends on the reason behind the damage caused. If the damage is, for example, caused by an ongoing problem, like a leaky pipe, the repair will only begin when the water source has been identified and fixed. In the case of major water damage, like flooding, the process can take over several days or even weeks, depending on the degree of damage caused.
Apart from the time taken to repair the damage, it is also important to consider the costs associated with the process. These depend on a number of factors. For one, the cost depends on the size of the project — it can be as major as rebuilding an entire room to something more minor, such as fixing a few pieces of drywall. Additionally, the cost of the project depends on the location of repair as well as the extent of damage.
Pro Tip: If you observe discolored walls, peeling paint, bad smells, or any other signs of water damage, be sure to spot the problem and tend to it immediately. Tending to water issues as soon as possible helps minimize the costs incurred. Also, don’t hesitate to hire a professional if the damage is extensive.
What Shall I Consider Before Water Damage Restoration?
Before initiating your water damage restoration project, evaluate the problem in the below-mentioned ways. This will help you decide whether you can DIY or require professional assistance.
Source of damage
The three types of water sources you need to look out for include:
Clean Water (comes from leaky pipes or rain and is safe to handle)
Gray Water (comes from leaking appliances like the toilet, dishwasher, or washing machine and can be handled with proper precautions)
Blackwater (comes from any nearby flooding or the sewer and is extremely dangerous to handle on your own)
Water volume
Water coming from faulty appliances or leaking pipes is safe to be DIY-ed. However, if your locality is facing a natural disaster like a flood, it is better to call in experts and follow the instructions given by the disaster relief authorities.
Damage level
Slight damage, like replacing floor coverings or drywall, can be DIY-ed. But if, for example, flooding on an upper level has made its way through the floor onto the ceiling, the damage is beyond your ability to restore safely.
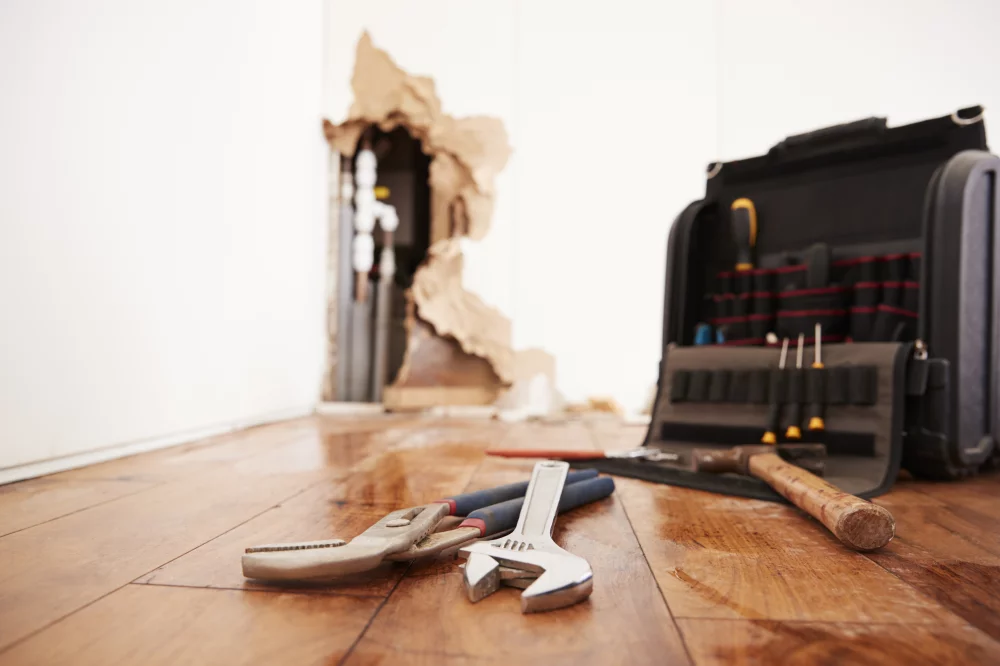
What Are The Steps For Water Damage Restoration?
Once you’ve considered the above factors, it is time to initiate the water damage restoration project. Here are the steps to follow:
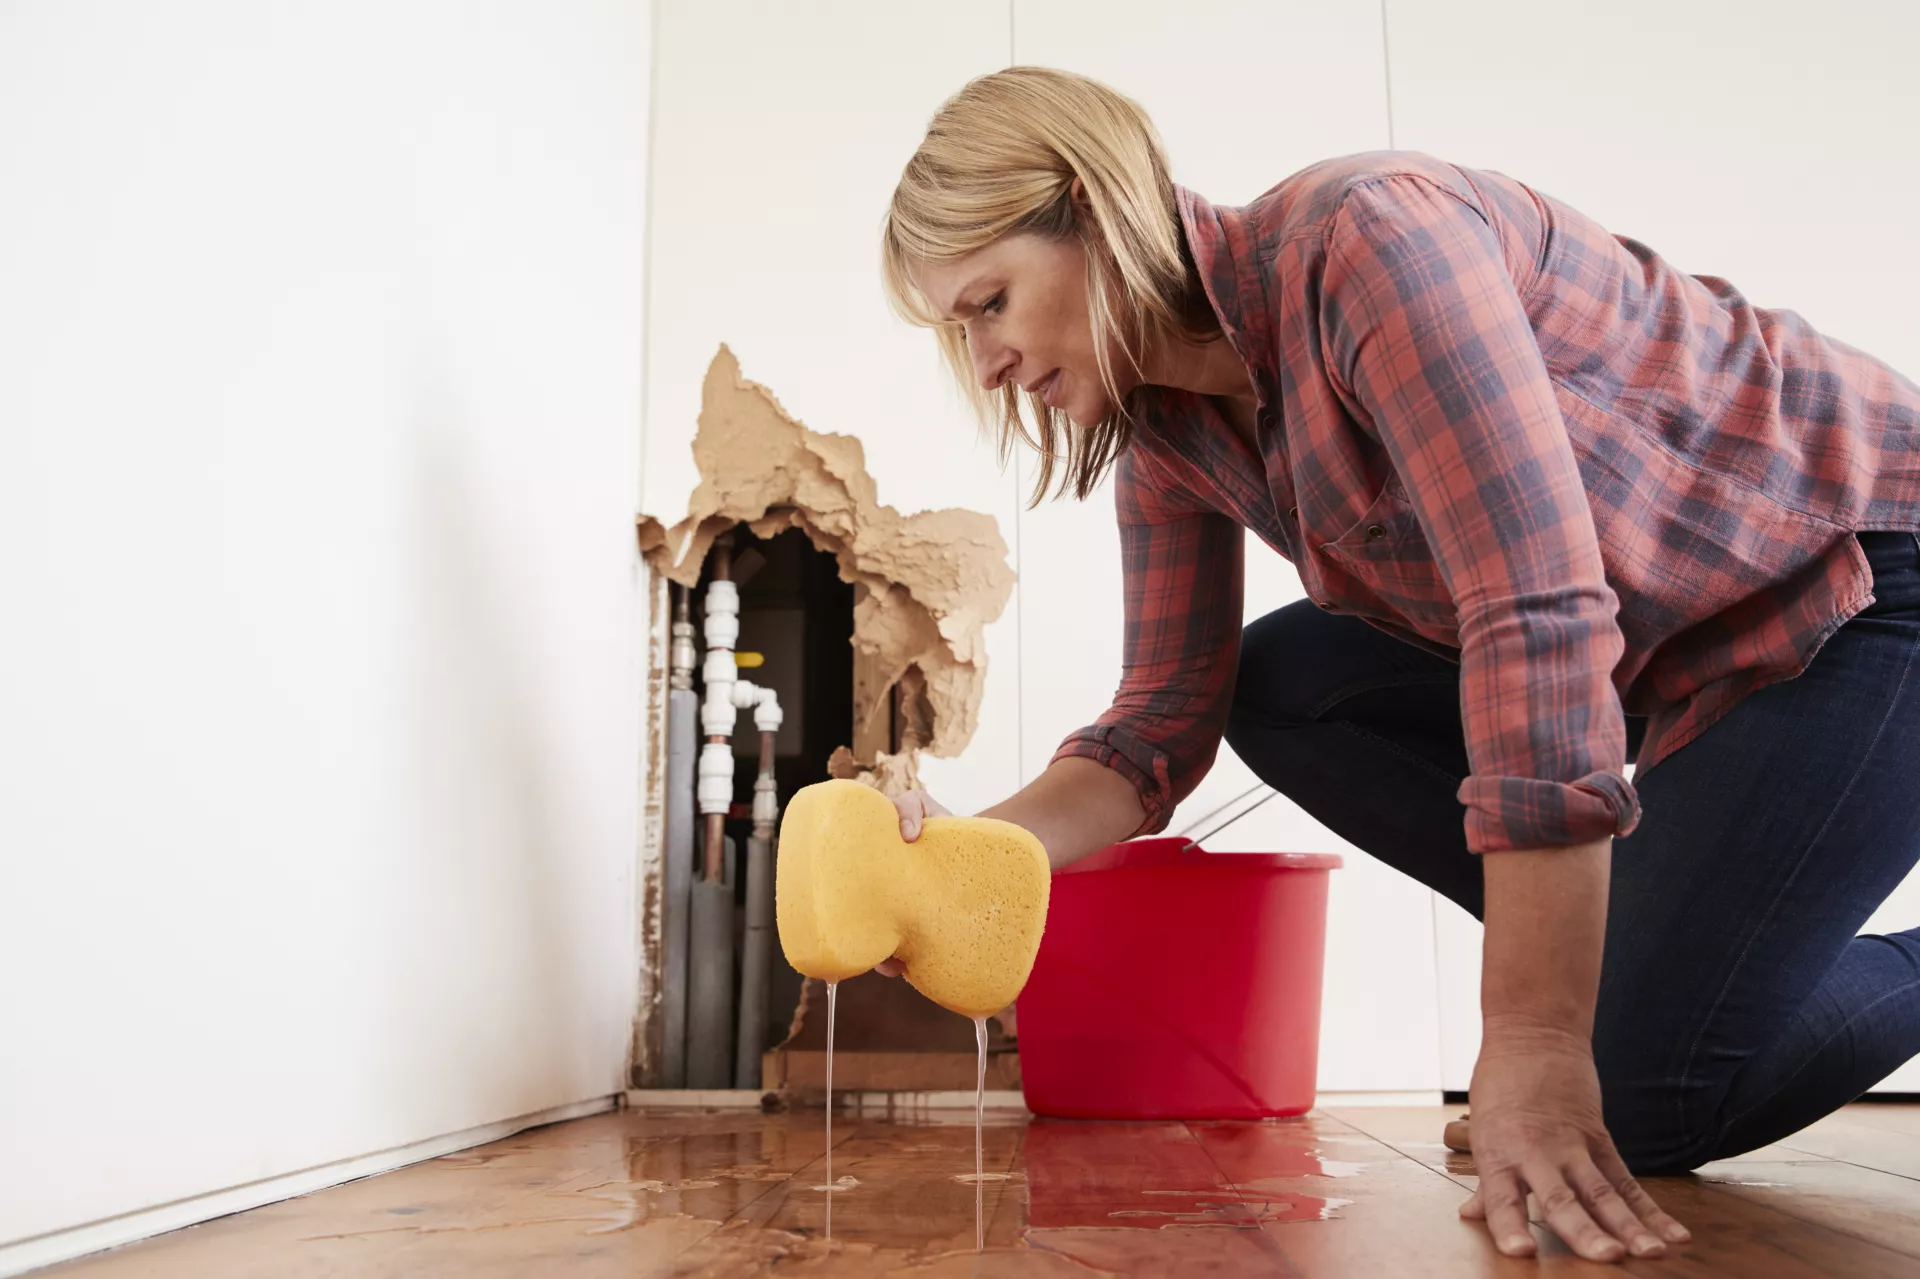
Ged Rid Of The Water and Clean Up
Begin by cutting off the gas and electricity supplies for safety purposes. Next, find the leakage source and give it a quick and temporary fix. Proceed by cleaning up the area and getting rid of all collected water. You may use a bucket or a wet/dry vacuum for sucking out the water. The equipment you use largely depends on the amount of water on the repairing site.
Dry Out The Site
Once all the water is pumped out, dry all the wet areas. You may also want to get rid of any damaged materials, such as drywall and carpeting.
Carry Out A Final Dry Out
Now that all the water has been removed and the leakage has been treated with a temporary patch, it is time to fix the damage caused by the water. Start by ventilating the area with open windows and properly positioned dehumidifiers to discourage the growth of mold and mildew.
Restore Contents
Many items, such as clothes, textiles, hard goods, electronics, photos, etc., can be removed and taken offsite to be restored.
For a damaged basement, minor changes like insulating the windows and patching a few cracks in the walls or major amendments like fixing a weak foundation, replacing interior finishes, or swapping bad pipes with new ones are an important part of the water remediation process.
Pro Tip: When the basement has been restored to its original state, consider installing basement waterproofing to prevent the inconvenience from repeating itself.
Reconstruct & Build Back
Finally, it is time to rebuild the structures that were removed for the water restoration process. These may include plumbing, electrical, drywall, finish materials, etc.
Voila — your damaged property is now back to its sleek, clean, and efficient state!

What Is The Difference Between Water Restoration & Water Mitigation?
While both terms might seem interchangeable, they are different processes that occur at different times.
Water mitigation aims at protecting the property, preventing further water damage, and keeping the residents safe. It is done during or soon after the water has damaged your home and is a temporary solution that does not involve the removal or fixation of items.
On the other hand, water restoration, as discussed above, is a permanent solution done after the water event. It is focused on repairing damaged property and items to restore your home to its original state. It takes place after water mitigation and helps the home recover from the water damage.
What Are The Benefits of Hiring A Professional Water Restoration & Water Mitigation Company?
While you can always DIY a water mitigation and restoration process, hiring a professional company to take up the job is always a great idea — the benefits include:
Having years of expertise and experience, professionals assess the damage accurately and design a restoration plan to fit the requirements of your damaged property.
They rely on the use of state-of-the-art techniques and tools.
They can help prevent further damage.
They can recognize and treat the presence and growth of mold and mildew.
Conclusion
Damage caused by water leads to multiple structural and health problems with the loss of billions of dollars nationwide. Therefore, prioritizing your home beyond the costs of the water damage restoration is definitely a worthwhile decision that will save you from long-term stress and heavy losses.
So, now that you’re familiar with the considerations to make before a water remediation process, the steps involved, and the benefits of hiring a professional, it is time to restore your home to its original state and get rid of the damage caused by water!