
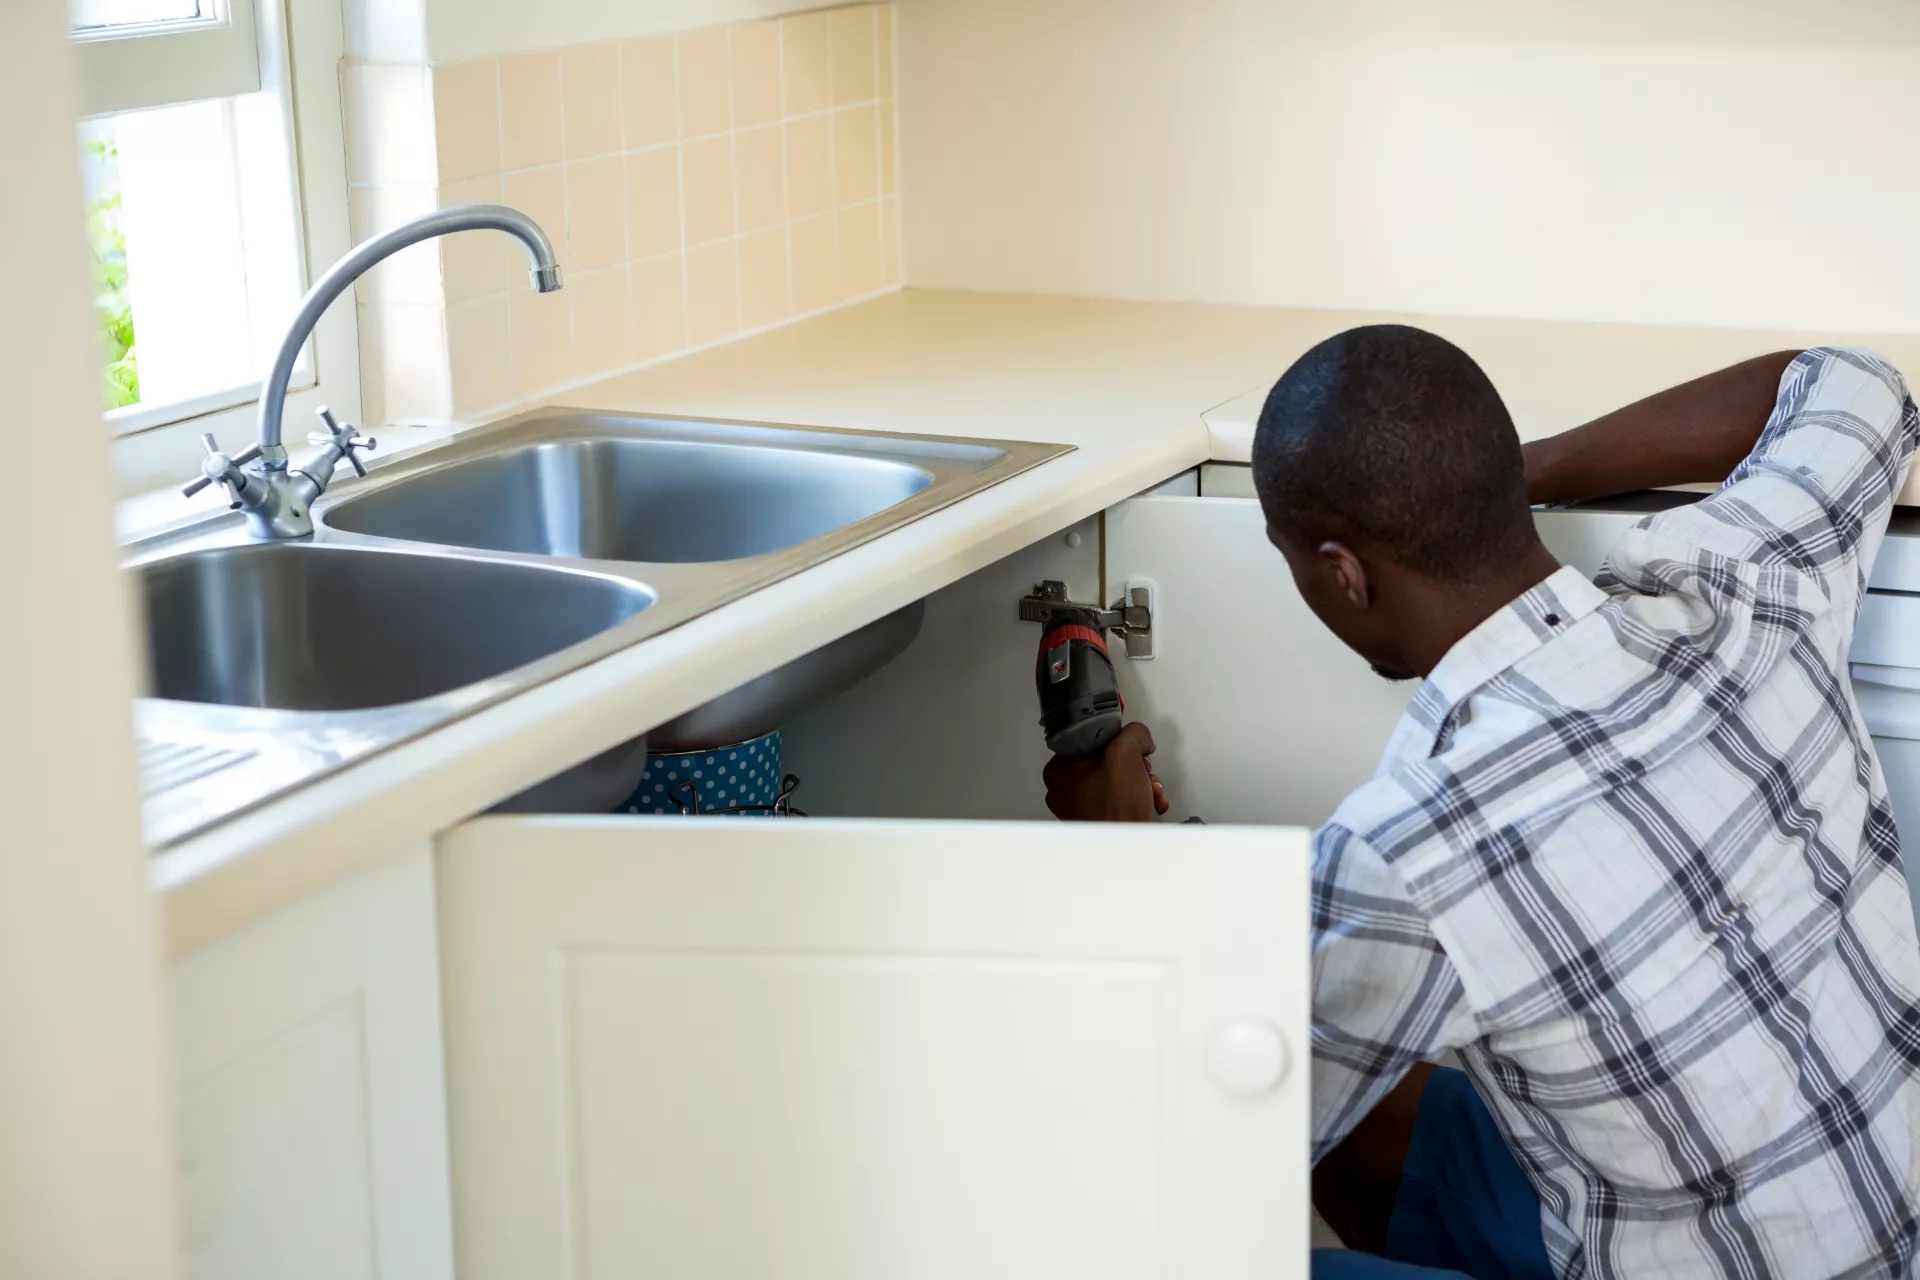
DIY Cabinet Maintenance: Adjusting Kitchen Cabinet Door Hinges
Whether you’re an amateur chef who loves cooking three meals a day or a takeaway person who uses the kitchen only for aesthetic purposes, kitchen cabinets will always be a part that is consistently used and exposed to wear out. With time, the scraping, bumping, and misalignment will become an annoying issue that disrupts the kitchen's efficiency and ambiance. But don’t worry, fixing crooked cabinetry is a doddle — even for people who shrink at the sight of a hammer or screwdriver!
Read on to learn more.
Required Equipment
The only equipment and material you will need is a screwdriver and of course, some free time on hand. The best part? You don’t have to be a DIY aficionado. Simply understanding and implementing the steps below will do the job perfectly for any of the following problems you’ve been struggling with.
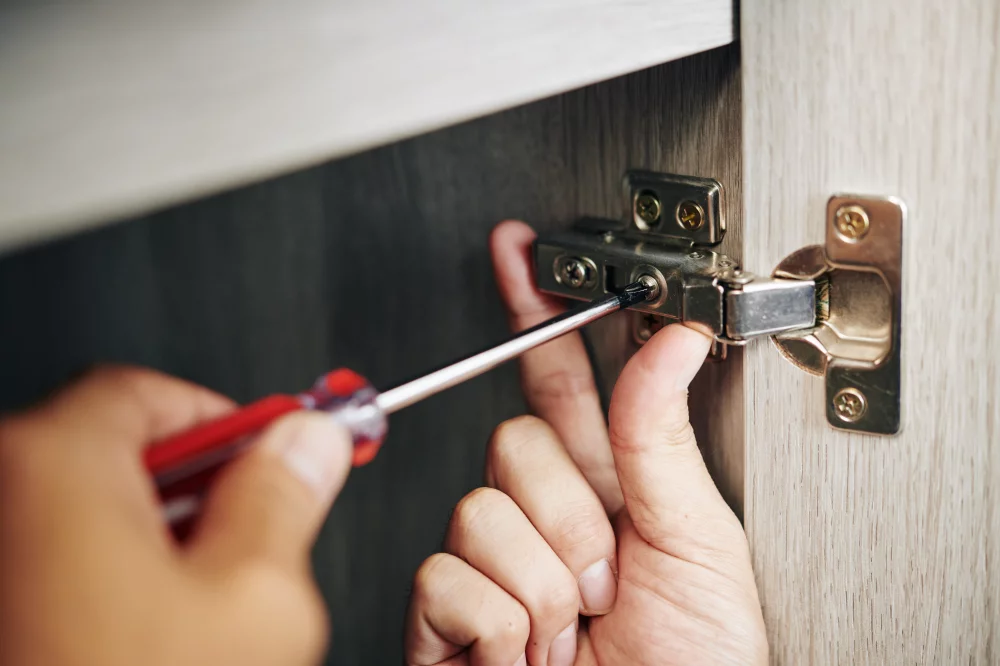
Locating The Screws
There are a number of screws to notice as you open the cabinet door. These include:
- 2 vertical fixed door screws (joining the hinge and the door)
- 2 vertical adjustable cupboard screws (joining the hinges to the cupboard)
- 2 horizontal screws on the inside of the cupboard
Each hinge has two screws, the left being the adjusting screw and the right being the locking screw.
The screws and hinges to be used will depend on which problem (loose cabinets, misaligned doors, or loose doors) you’re dealing with.
Instructions To Adjust Misaligned Doors
Step 1 - Locate the required screws. Each hinge has two screws. A horizontal adjusting screw close to the front side of the cupboard and a horizontal locking screw close to the back of the cupboard. For the process of fixing misaligned doors, you will particularly focus on one type of screw — the one(s) that holds the hinges on the inside of the cupboard. The screws that secure the hinges to the doors will not be our priority.
Step 2 - Adjust the door (particularly side-to-side). Begin the process by loosening the grip of the locking screw. Then, unscrew the adjusting screws by rotating them clockwise to shift the door a bit closer to the cabinet’s edge.
Step 3 - Tune the door up or down. First, unscrew the adjustable cupboard screws. Then, position the door as required. Finally, tighten the screws again. Pro Tip: Remember, the door might drop slightly due to the unscrewed hinges. Therefore, supporting the weight with the assistance of a helper is a worthwhile idea for this step.
Instructions To Tighten Loose Cabinets
Step 1 - Locate the required screws. For this issue, you will use either only the locking screw or both the fixed and adjustable screws as well. This will depend on how loose the cabinet is.
Step 2 - Secure the locking screw. Tighten the locking screw with a screwdriver and double-check the tightness by opening and closing the door fully. If it is loose, proceed with tightening the rest of the screws.
Step 3 - Tighten the adjustable and fixed screws. Rotate all the vertical screws as tightly as possible. At this point, the only untouched screw will be the leftmost or rightmost (depending on which side you are adjusting) horizontal screw, which is used only when adjusting the doors side-to-side.
Instructions To Fix Cabinet Doors That Don’t Close Properly
Step 1 - Check for binding. Close the cabinet door, and if it touches the cupboard when it closes, it means it is too tight and is binding. Such doors will not close properly. Pro Tip: Creaking cabinet doors are also a sign of binding.
Step 2 - Locate the screws. To fix cabinets that don’t close fully, the only focus will be the locking screws. Loosen them with a screwdriver and adjust the door as required.
Step 3 - Check the gap. Make sure there is a one-millimeter distance between the door frame and cabinet door. Open the door to determine if the gap falls within this dimension.
Step 4 - Tighten the locking screws again. Bring in a helper to hold the cabinet door in position as you tighten the locking screws again to secure the door fully.
Step 5 - Open and close the cabinet door. This will ensure it fits exactly against the cupboard frame without any creaking sounds. If the problem persists, repeat the process.
Conclusion
Everyone faces the problem of “sagging” kitchen cabinet doors at one point or another. But instead of looking for replacement doors right away, trying to adjust them with the aforementioned steps is a much easier and quicker solution that can save you hundreds of bucks!
So grab your toolbox, follow our step-by-step guide, and get ready to freshen up your creaking, loose, or misaligned cabinetry now!
Find more articles about kitchen remodeling in the KITCHEN section of the KBF BLOG.