
Stenciled Tile Makeover Guide
Looking to spruce up your old and tired tile floors without breaking the bank? A stenciled tile makeover may be the solution you're looking for! With this DIY project, you can transform your floors into stylish and modern designs without the cost of replacing them entirely.
Say goodbye to the traditional plain tiles and hello to customized, one-of-a-kind patterns that will leave your guests in awe. So grab your craft sponges and favorite paint colors, and get ready to unleash your inner artist with a stenciled tile makeover.
What is a Stenciled Tile Makeover?
A stenciled tile makeover presents a cost-effective, straightforward, and enduring creative endeavor to rejuvenate mundane tile surfaces, with endless possibilities to experiment with patterns, colors, and textures. By painting over existing tiles with a base coat and using stencils to create a classic or unique design, you can transform the look of any room in your home.
With various stencil designs and paint colors available, you can let your creativity run wild. This is perfect for those looking to spruce up their homes without spending much money or leaving their house.
How to do a Stenciled Tile Makeover?
The method for stenciled tile makeovers is relatively simple; just follow the steps:
Measure the tiles: Before you order your tile stencil, measure your tile from edge to edge, excluding the grout lines. The size you measure is the size you will order.
Floor preparation: Sand your tiles using 220-grit sandpaper to give your floor extra adhesion. Remove any dust or dirt from the floor using a heavy-duty floor cleaner such as TSP. or other cleaning supplies such as a vacuum, mop, or wipes to clean the tile floors thoroughly before starting stenciling. Tape the perimeter of the floor and toilet to avoid getting paint in unwanted areas.
Prime the floor: Use a chip brush to paint the borders first, making sure to reach all the corners. Then, use a dense foam roller to cover the rest of the floor with two to three coats of primer. Wait for the primer to dry completely.
Apply the base coat: After cleaning, apply a base coat of paint designed for interior floors. Most people prefer a white shade as their solid color, but other unique colors like charcoal or navy can also be used.
Choose a stencil design: Choose a plastic stencil design that fits the room's style and decor. The stencil design can be purchased online or at a craft store.
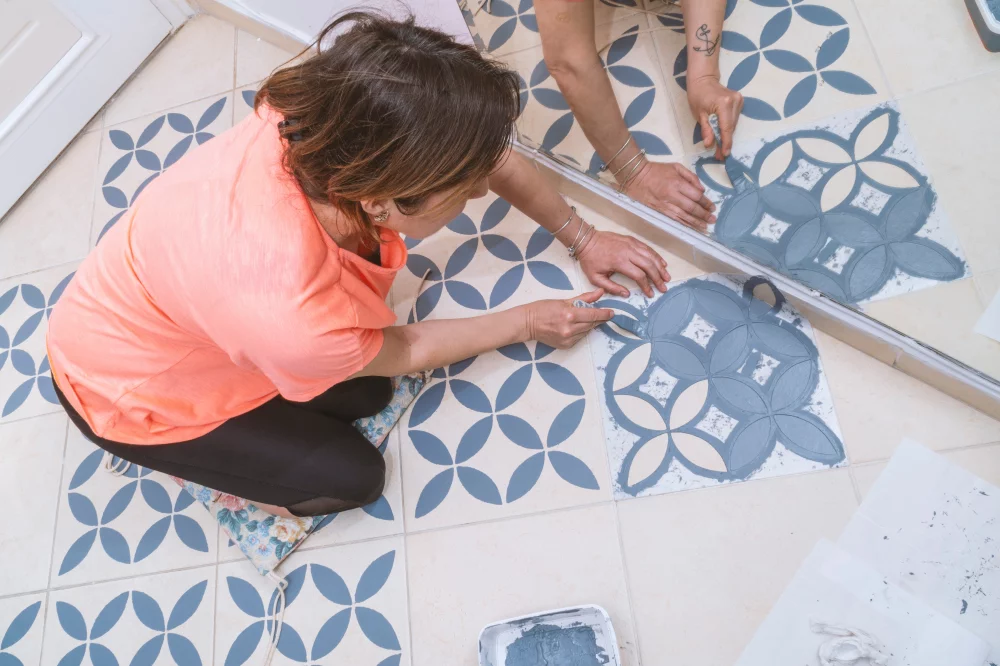
Use painter's tape to secure the stencil: Secure the stencil design onto the tile using painter's tape to keep it in place while painting.
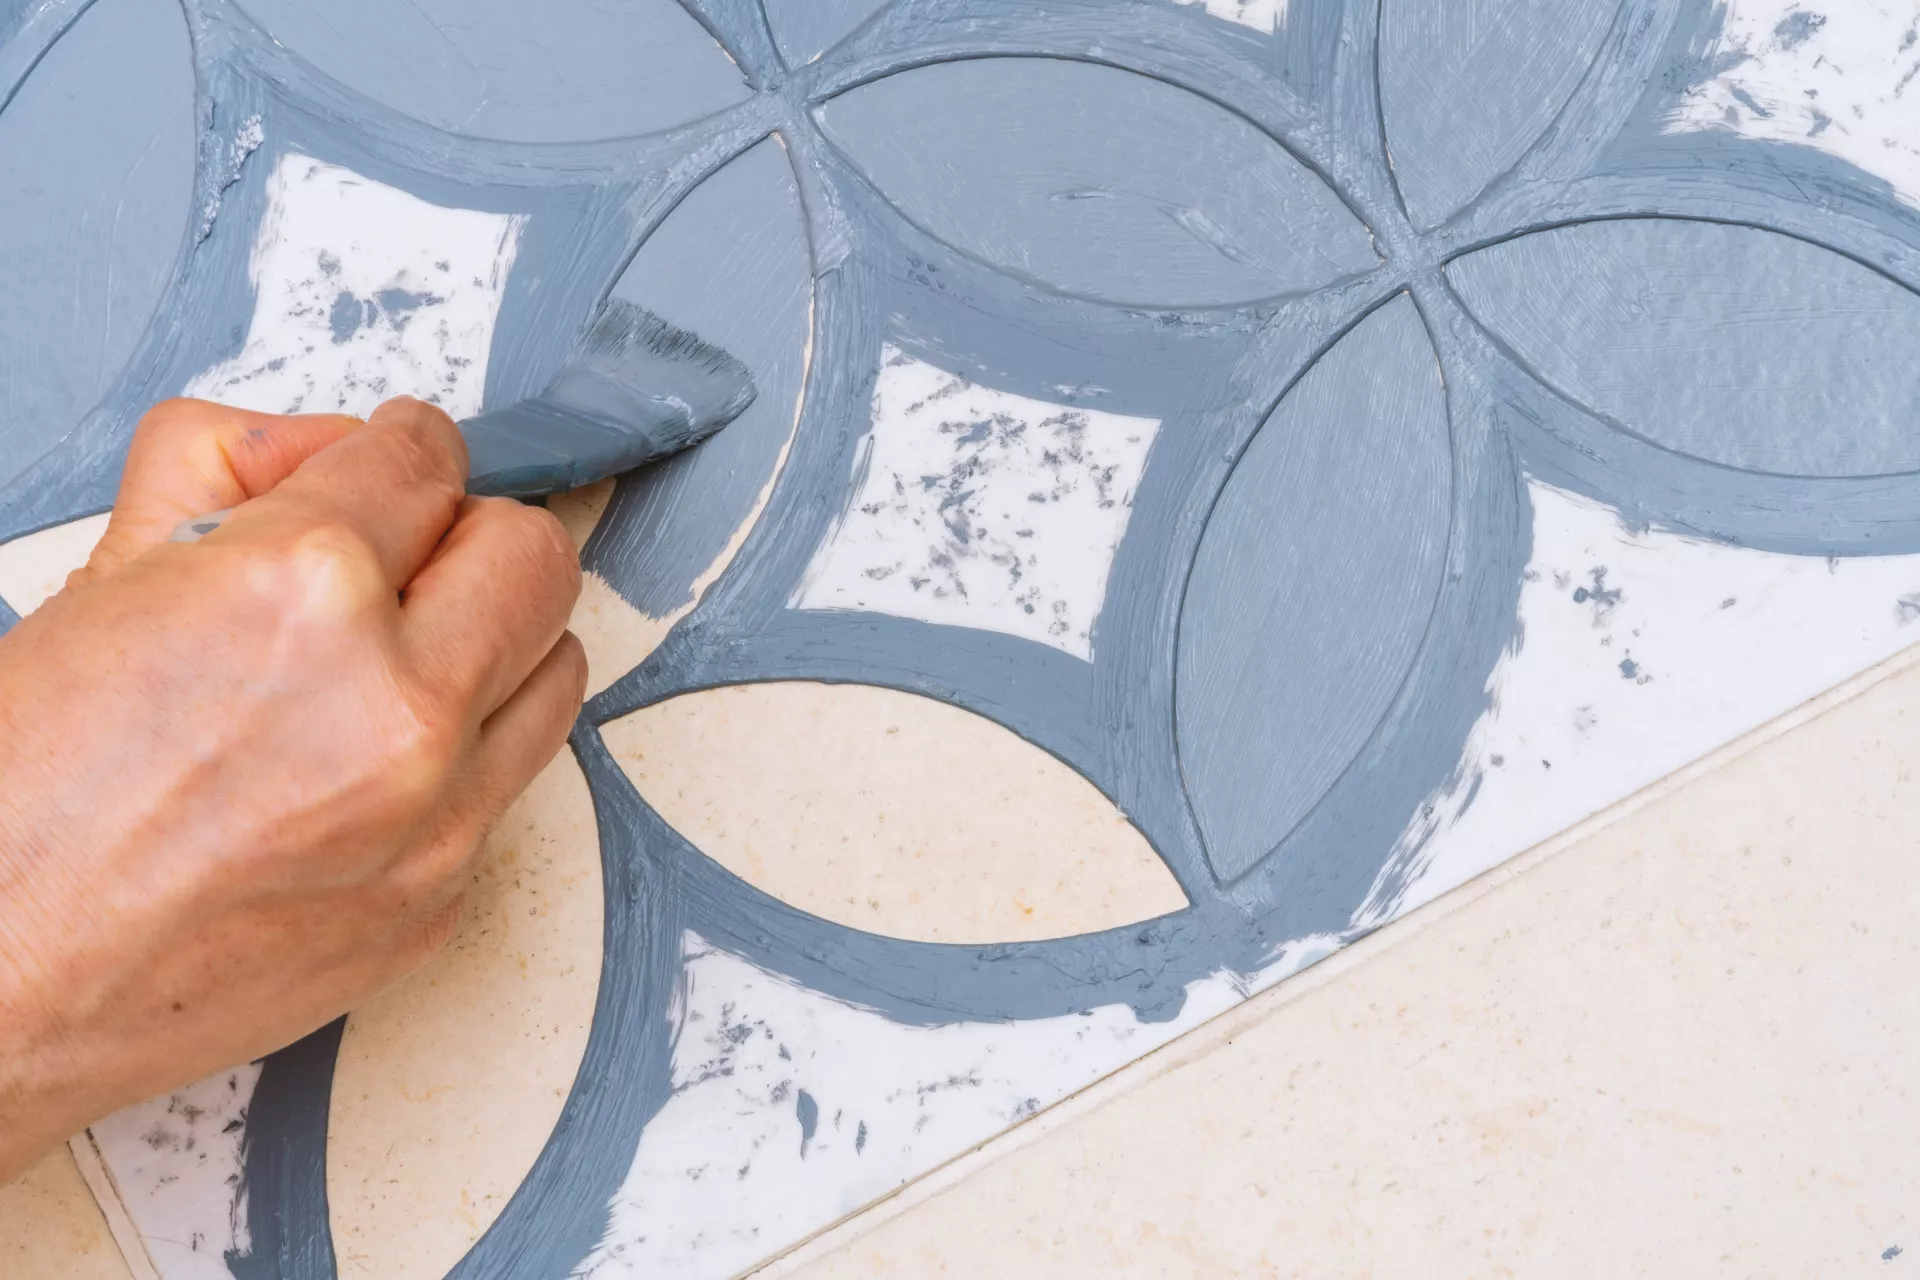
Apply paint with a craft sponge: Apply paint for the stencil design using a craft sponge. Dab carefully to avoid mistakes and overlap the paint slightly.
Practice before starting: Use practice sheets to hone the technique and color combinations before applying the stencil design on the tile.
Repeat the process: Repeat the process for each tile until the entire floor is stenciled. Again, take your time and be patient with the process.
How to protect Stenciled Tile Makeover?
Apply Eco-Tuff Clear Coat Sealer: After painting all the full tiles and cutting the stencil designs to fit the partial tiles, apply an Eco-Tuff Clear Coat Sealer to protect the paint and increase its durability.
How long will it take to complete Stenciled Tile Makeover?
The time it takes to complete a stenciled tile makeover project depends on various factors, such as the size of the room, the number of tiles to be painted, and the complexity of the design. However, here are some estimated timelines to give an idea:
Cleaning and applying a base coat: Depending on the room size, this step can take anywhere from 1-2 hours to half a day.
Stenciling: The stenciling process can take several hours or a whole day, depending on the room's size and the design's complexity. Therefore, it's essential to take time to line up the stencil designs evenly on each tile.
Drying time: The base coat and paint for the stencil design need time to dry, and the amount of time varies depending on the brand and type of paint used. The base coat typically takes 6 hours to dry, and the stencil paint may take 1-2 hours to dry.
Clear coat sealer: Applying a clear coat sealer for added protection and durability can take 1-2 hours.
Overall, a stenciled tile makeover project can typically be completed in a weekend or over a few days, depending on the room's size and the design's complexity. However, it's important to take time to ensure each step is done correctly for the best results.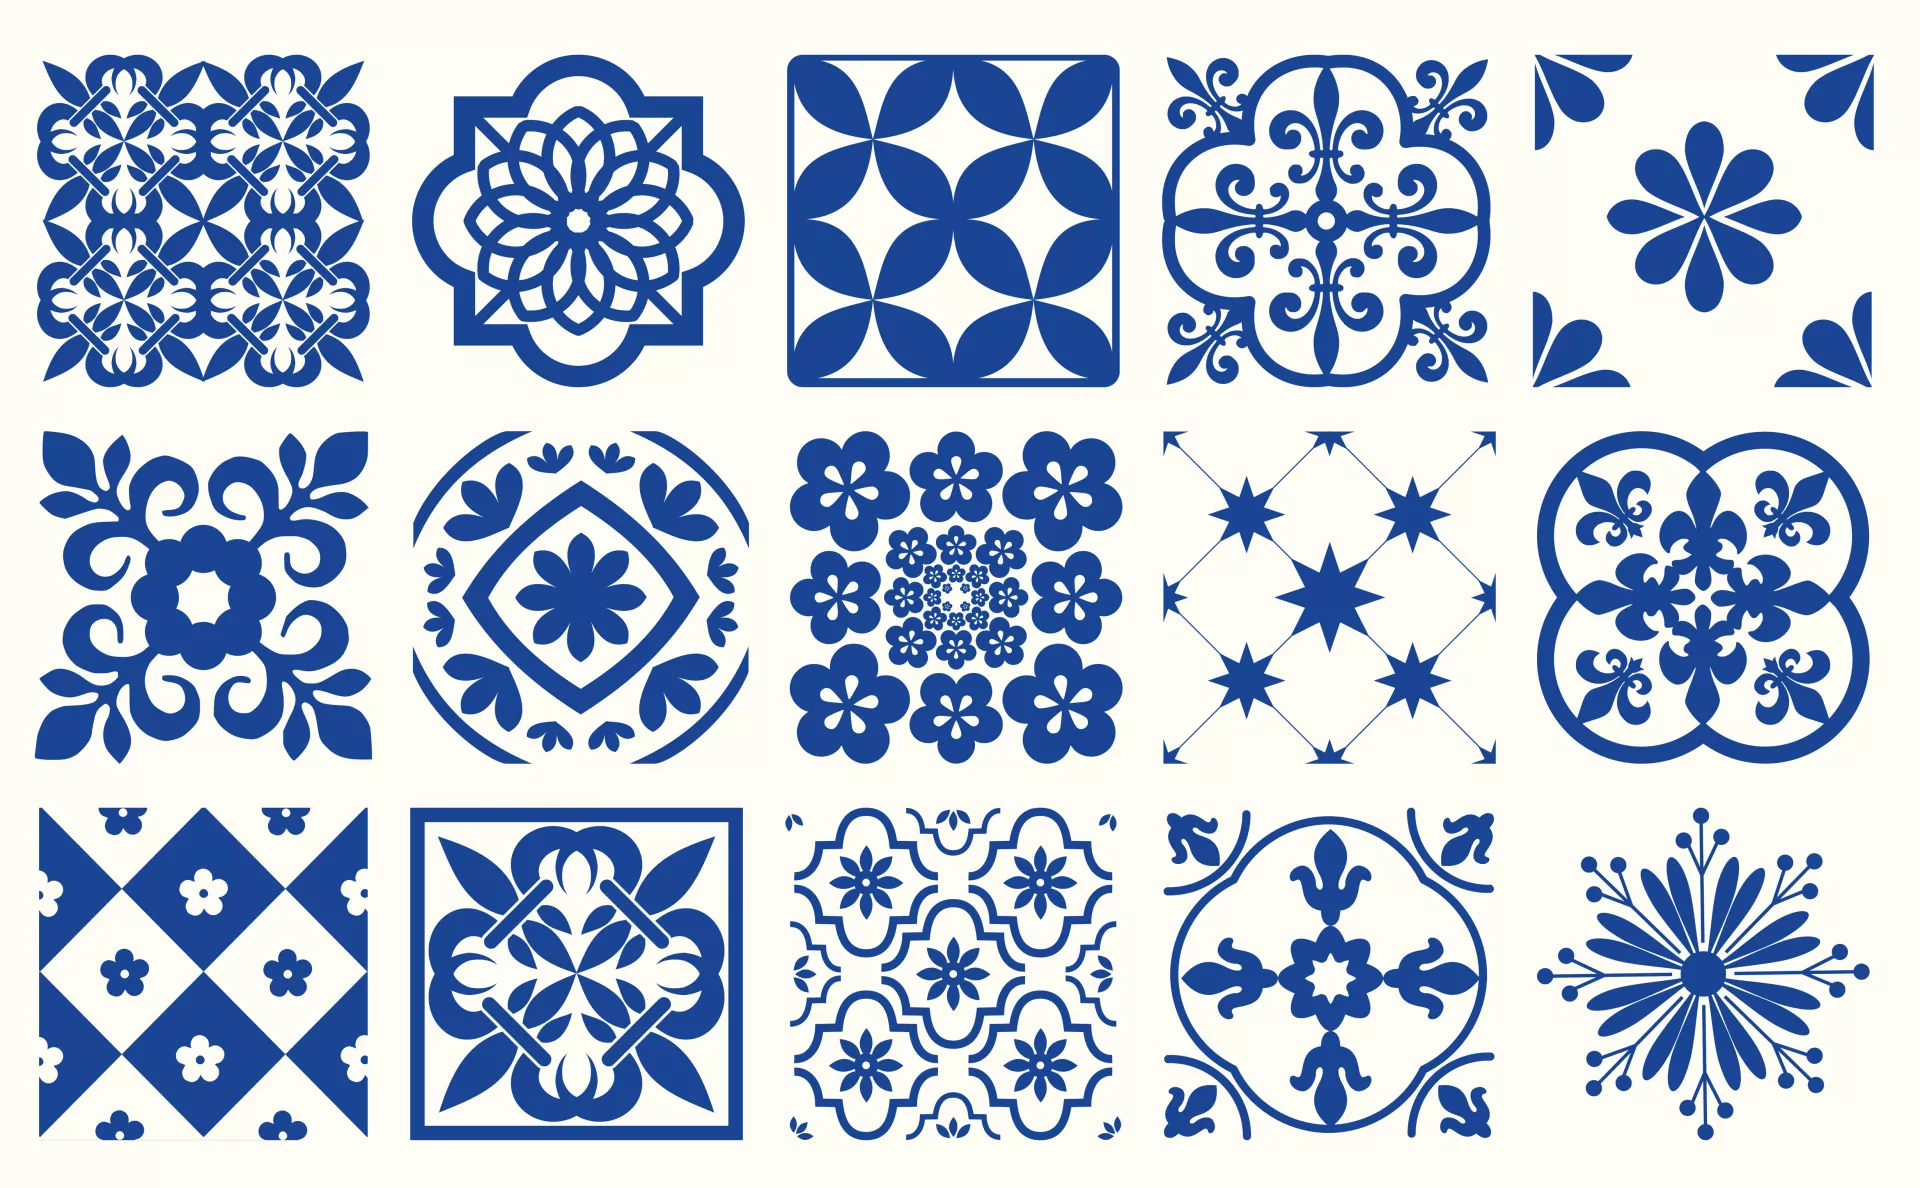
Recommended products to complete the Stenciled Tile Makeover
The most common products used for stenciled tile makeovers are listed down below:
- Vacuum, mop, or wipes
- Primer
- Rust-oleum's floor coat as a base coat
- Plastic stencils for the design
- A large pack of craft sponges
- Eco-Tuff Clear Coat Sealer for protection and longevity.
- Painter's tape
- Paint tray
- Standard 9-inch ¾ thick paint roller
- Paint for stencil design
- Practice sheets made from cardboard or artist's paper
- Knee pads for comfort during extended periods of kneeling
- Wet rag for correcting mistakes
- 4-inch smooth surface paint roller
- Measuring Tape
- Water-based Polyurethane
Cost of New tiles vs. Stenciled Makeover
When it comes to updating the look of your floors, two options that come to mind are installing new tiles or doing a stenciled tile makeover. While both options can improve the appearance of your floors, there is a stark difference in the cost between the two.
While new tile installation can be a significant investment, a stenciled tile makeover is a budget-friendly alternative that can save you money without compromising style. The cost of stenciled tile makeover materials, such as Rust-oleum's base coat, plastic stencils, and Eco-Tuff Clear Coat Sealer, typically only add up to a few hundred dollars for a standard-sized room.
Plus, with a stenciled tile makeover, you can achieve a customized look without costly labor or extensive prep work. Not only will a stenciled tile makeover save you money, but it's also a fun and easy DIY project that can give your space a fresh and updated look. So why spend thousands on new tile installation when you can achieve stunning results with a stenciled tile makeover at a fraction of the cost?
Conclusion
In conclusion, a stenciled tile makeover is a creative and affordable DIY project that can instantly transform your home's flooring into a modern and stylish space. With endless pattern and color combinations possibilities, you can create a unique look that truly reflects your style.
In addition, you can save money while achieving beautiful results by repurposing your existing tiles and avoiding costly labor fees. And let's remember the eco-friendly benefits of reducing waste by recycling existing tiles.
A stenciled tile makeover is a perfect project for those looking to upgrade their home's floors without spending a fortune or leaving their home. So, grab your painting tools and let your creativity flow with a stenciled tile makeover - your home will thank you!
Read our articles: "Tiles: the ancient materials we use every day" to learn more about ceramic tiles and "Kitchen Remodeling on The Budget" to learn how to save money on your kitchen remodeling.