
Everything You Need To Know About A Peel And Stick Kitchen Backsplash
Kitchens, being the busiest rooms of a home, tend to appear exhausted and worn out quite easily, demanding a facelift and revamp every so often. But since you might not always have the time and money to give the space an instant makeover, looking for more affordable and quick solutions is a smart way out. The peel-and-stick backsplash, for example, is one of the most popular and simplest ideas to make a big impact on your kitchen without breaking the bank.
Dive into this blog post to learn more!
What Are Peel-and-Stick Backsplashes?
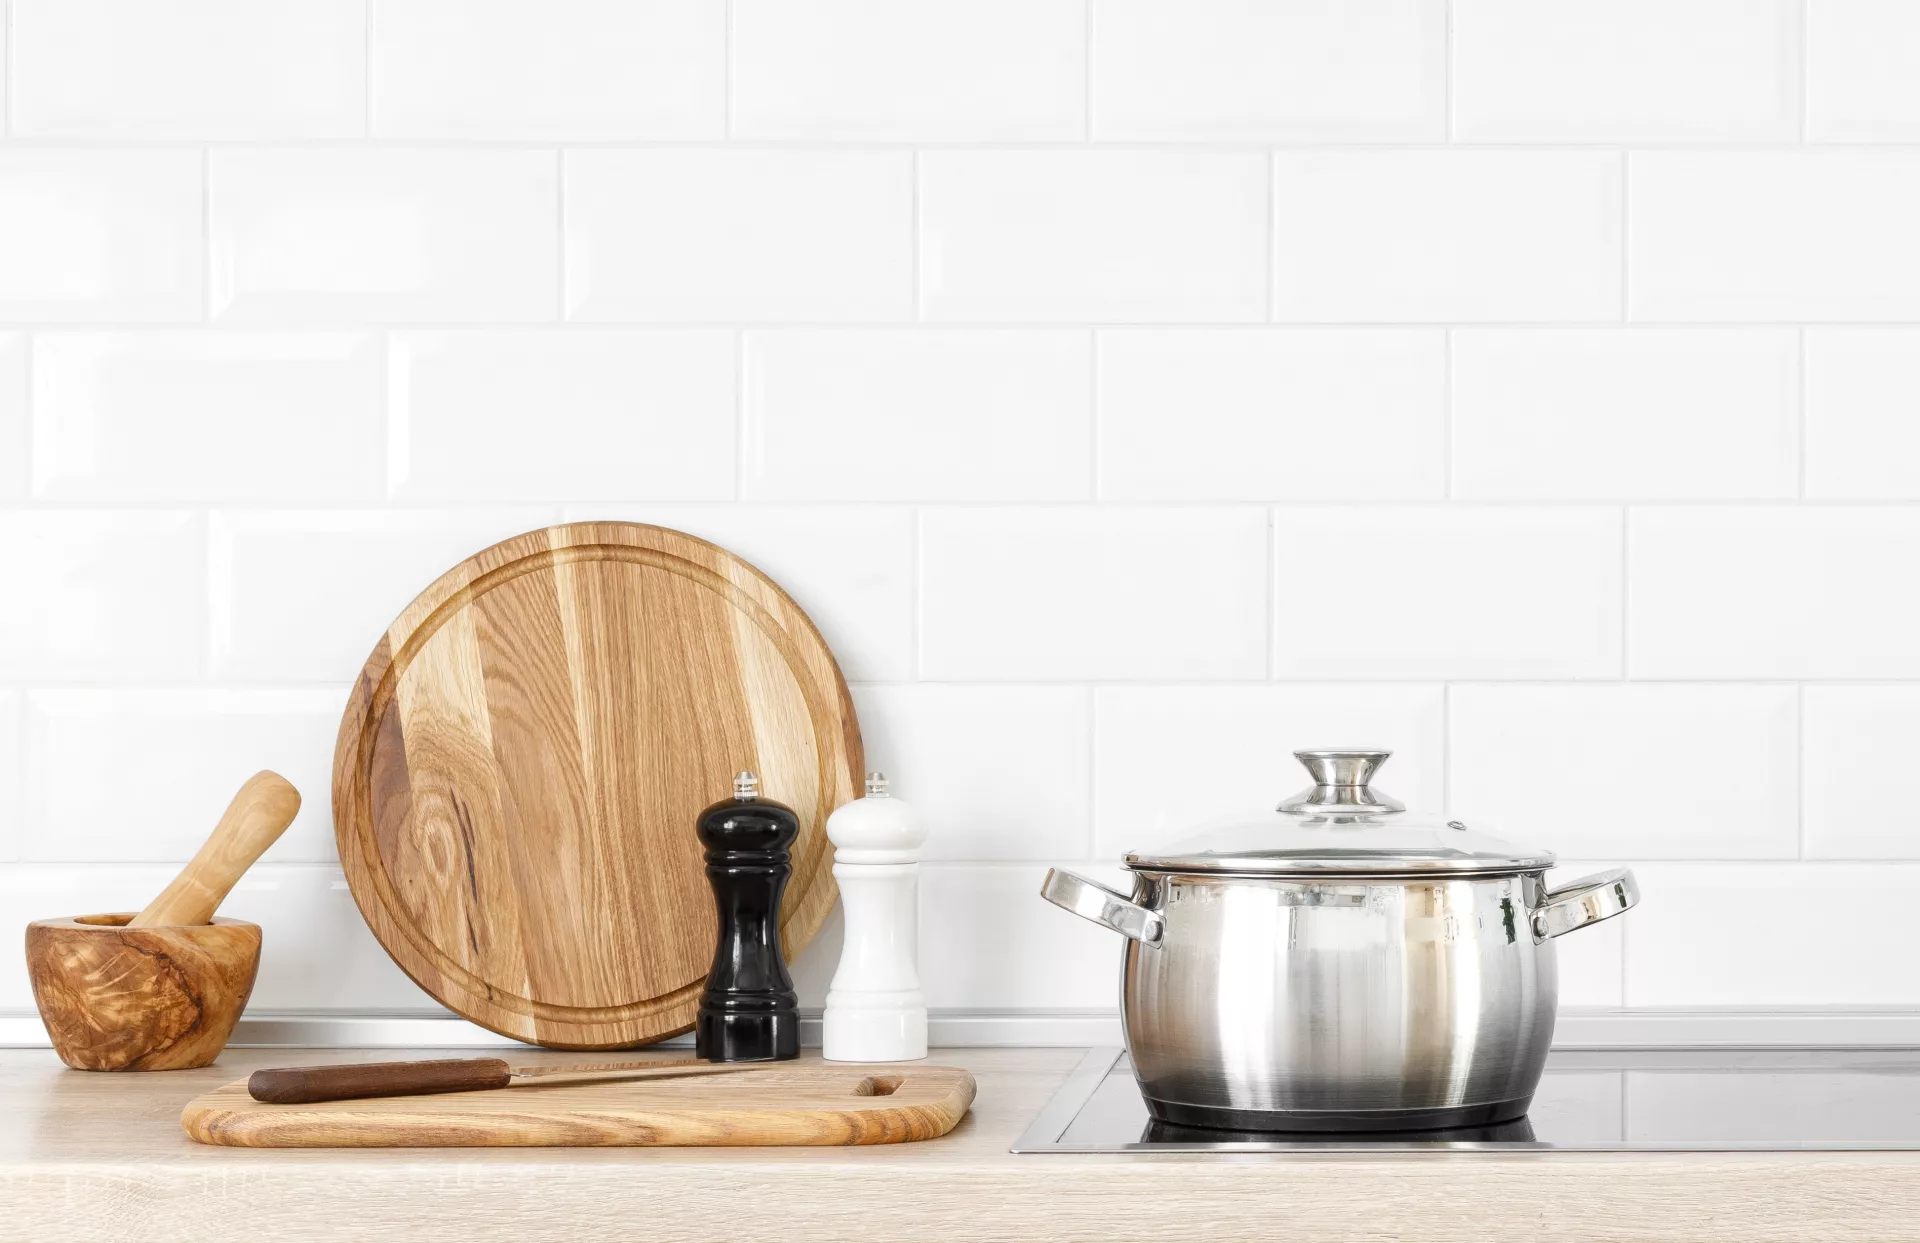
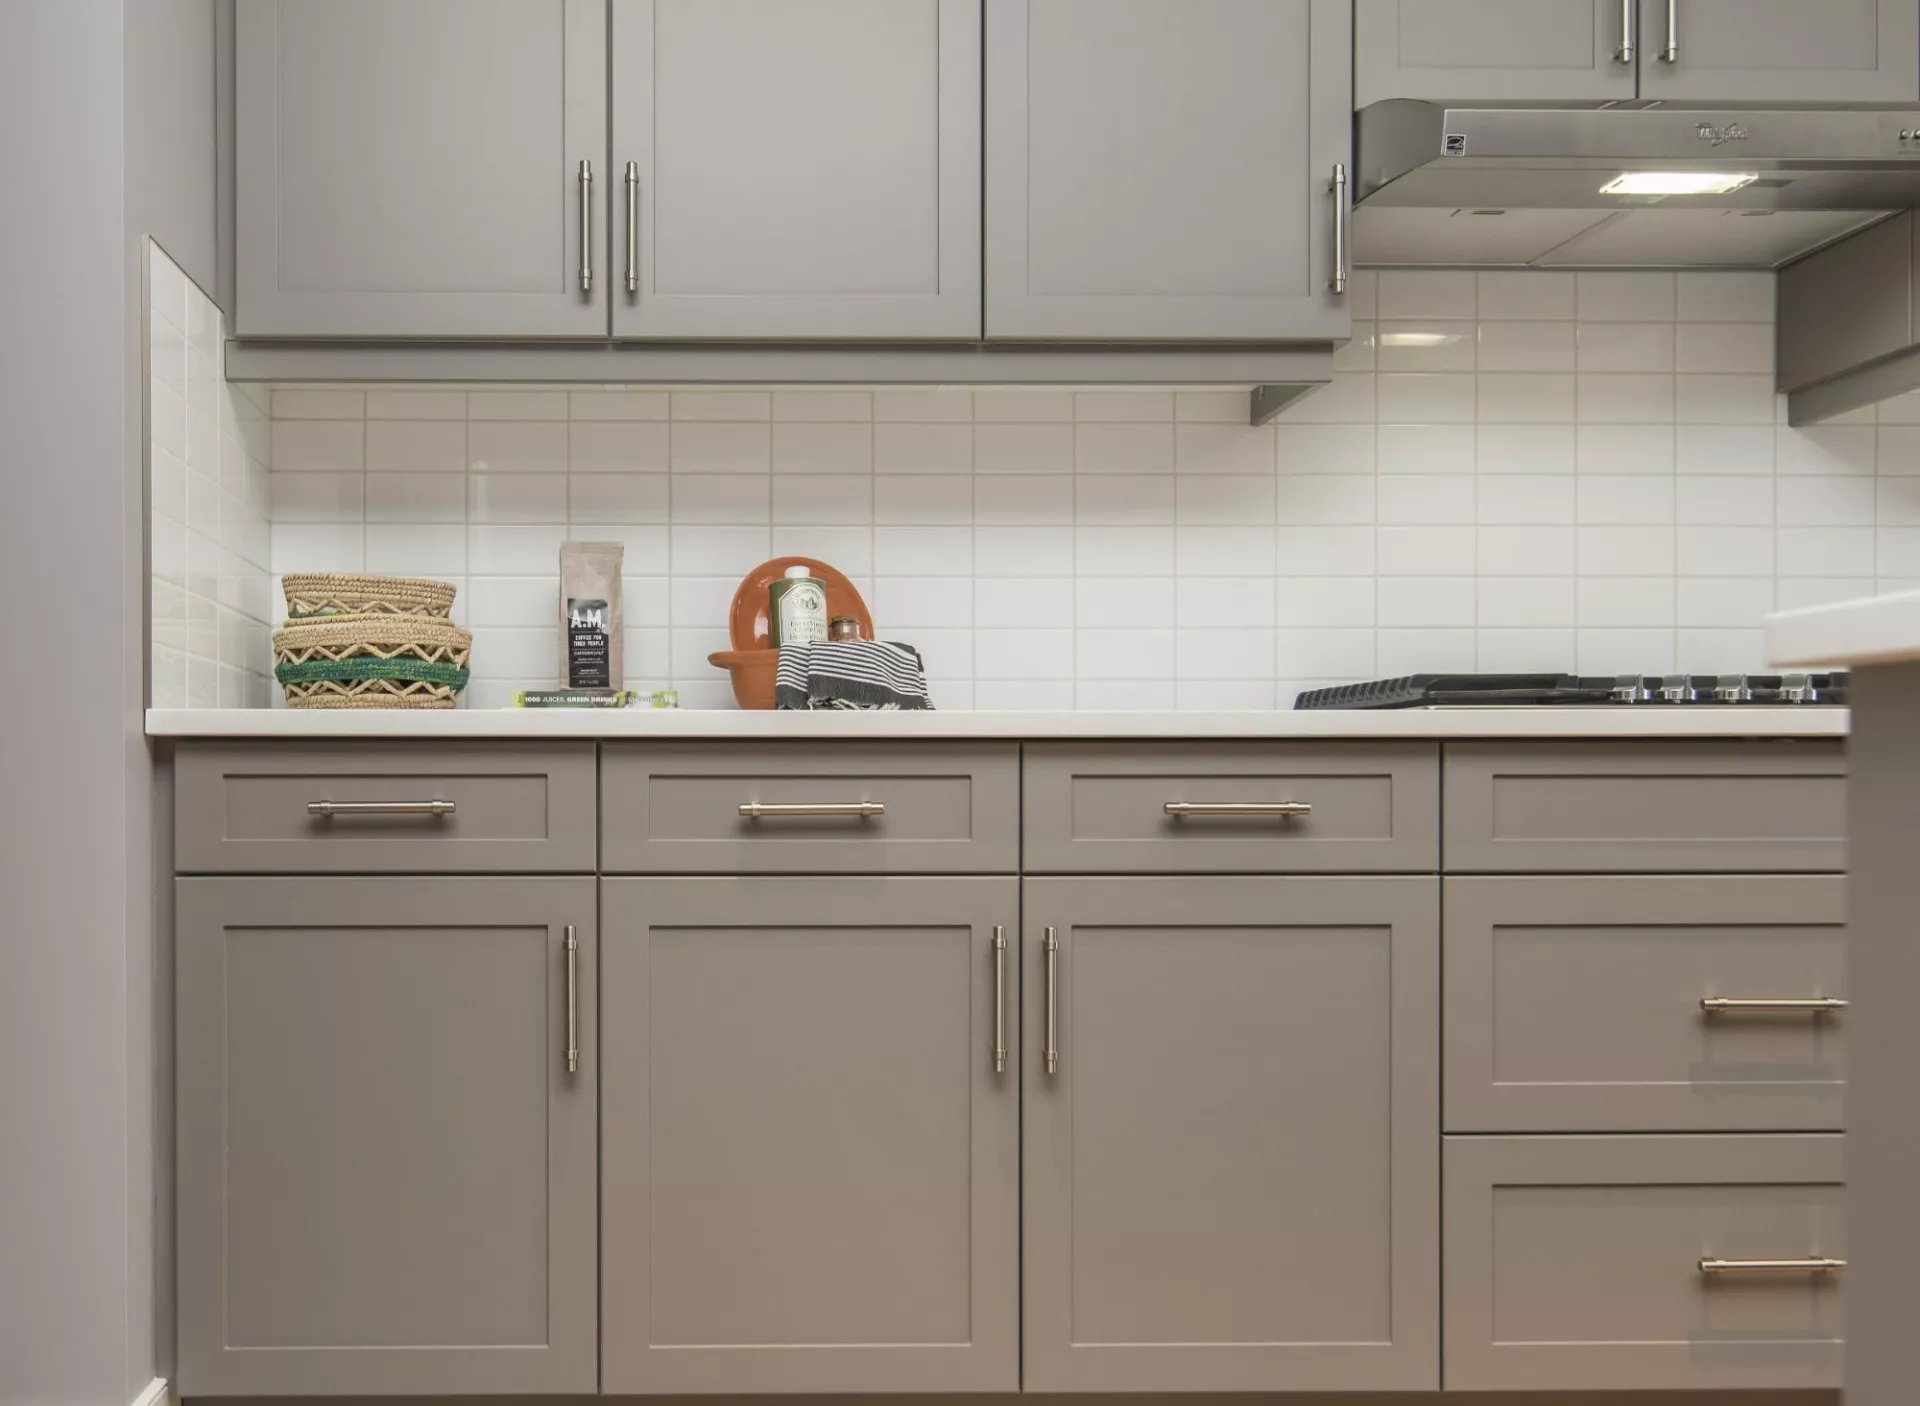
A peel-and-stick backsplash is a DIY-friendly approach to renewing the backsplash area in your kitchen. They come in the way of panels or tiles with an adhesive backing. It is a great option for budget cautious homeowners, RV owners, DIY homeowners, or "Vanlifers" who want the same sleek look provided by genuine kitchen backsplash materials (including stone, glass, and ceramic) without the complicated installation process.
Types of Peel-and-Stick Backsplashes
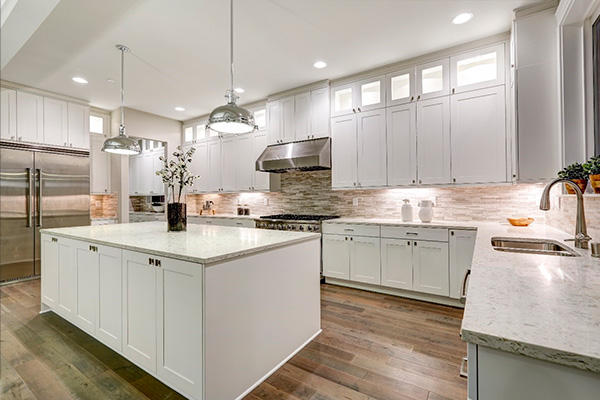
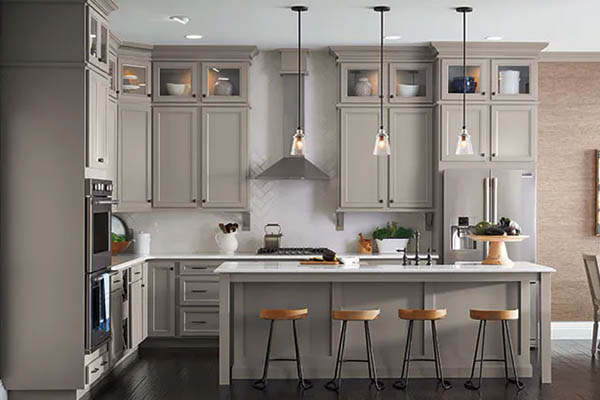
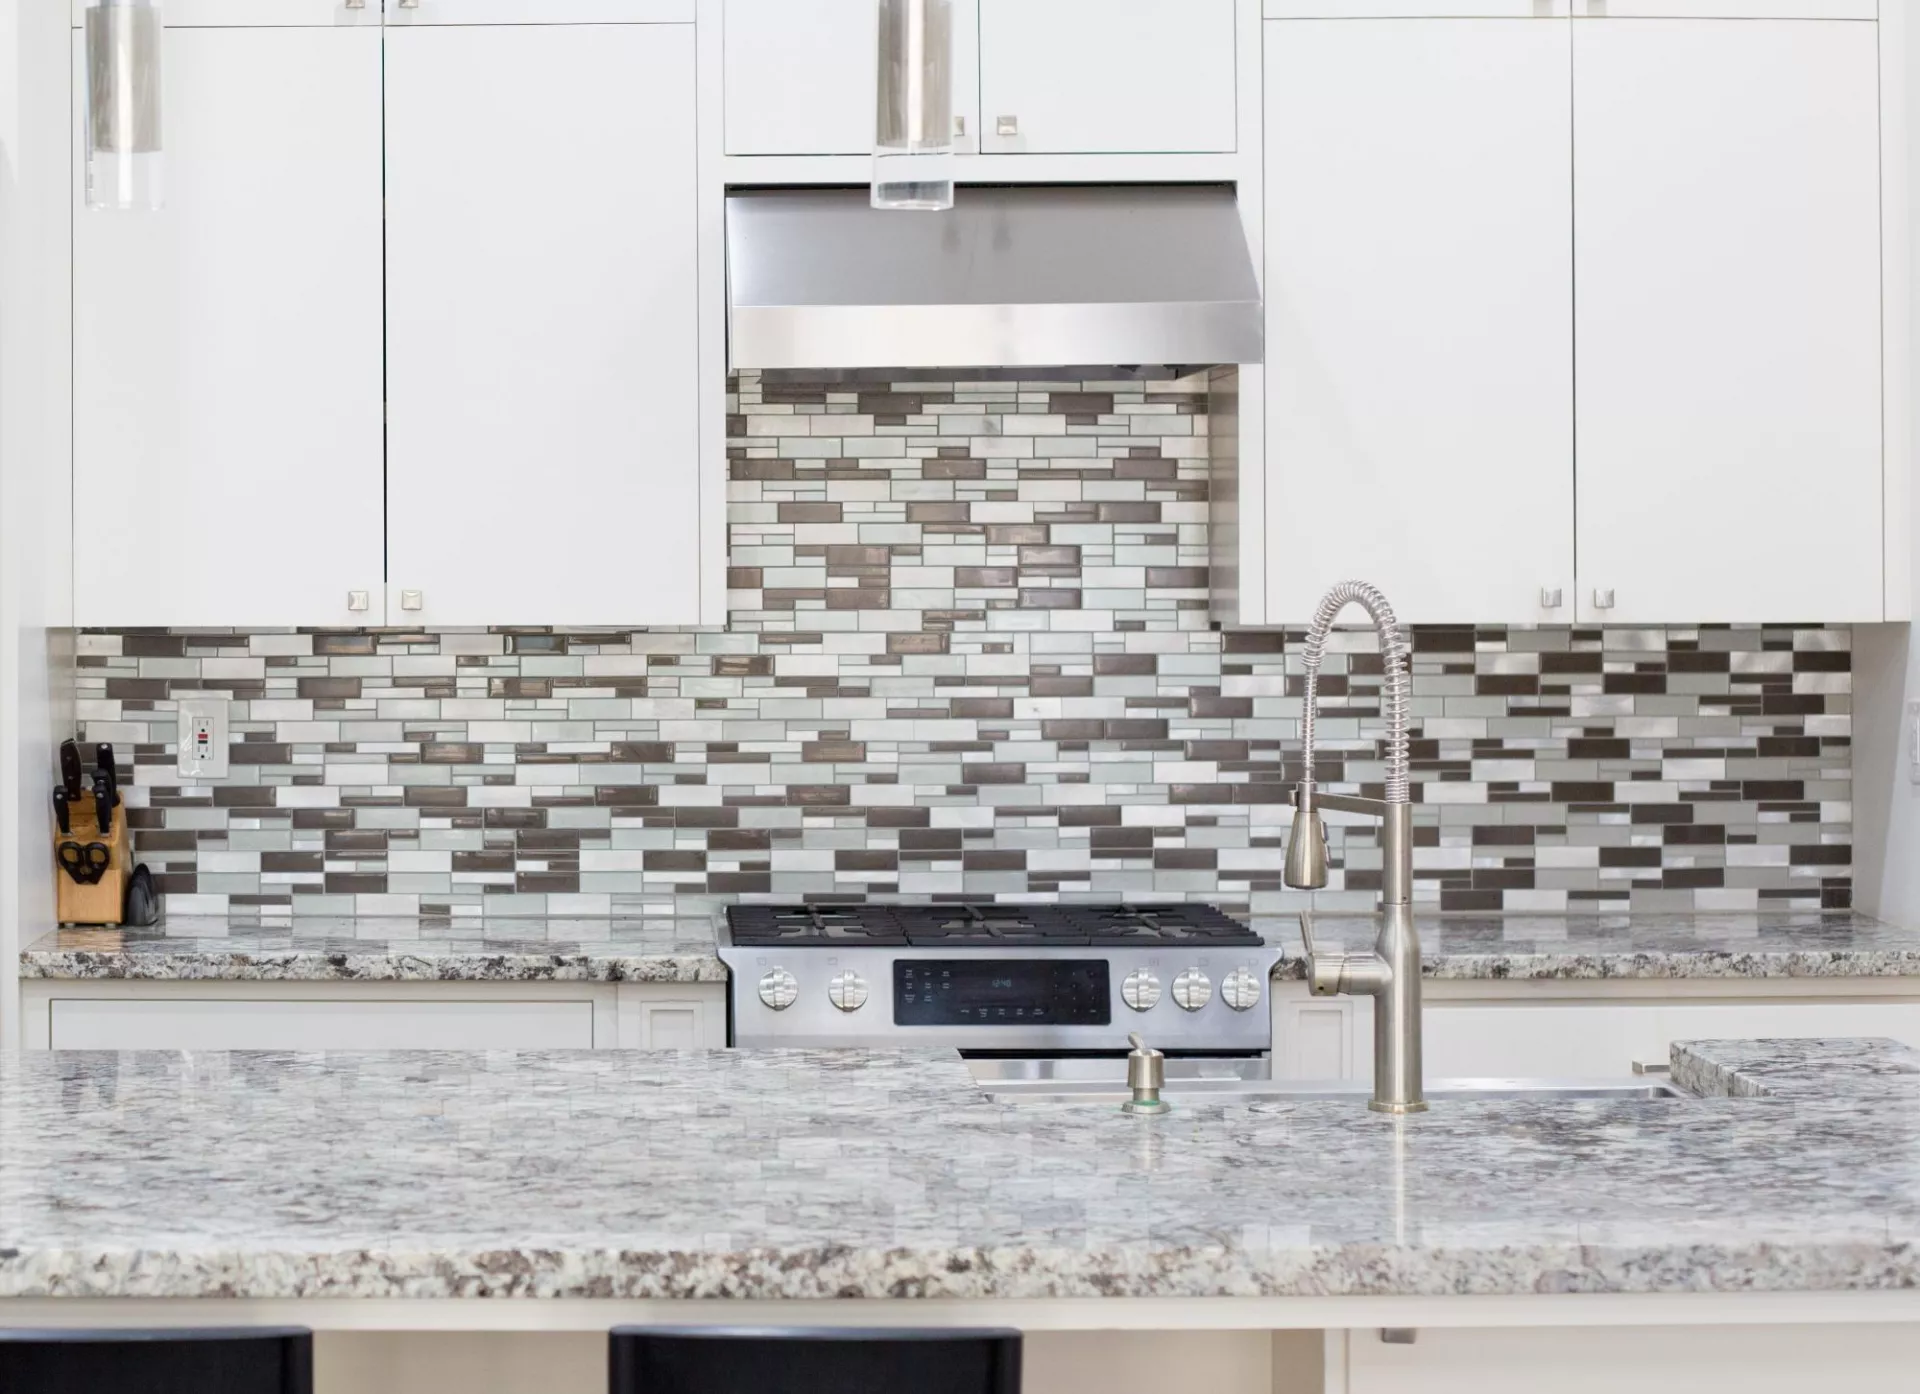
- Natural stone: It comes in various organic patterns and materials, such as marble and slate, with beautiful neutral, earthy tones and intricate designs.
- Vinyl & PVC: As a water-resistant, affordable, and easy-to-clean option, vinyl and PVC peel-and-stick tile is the perfect choice for first-time tilers. Although it might lack the genuine look of other backsplash options, the ease of installation and low price make up for that.
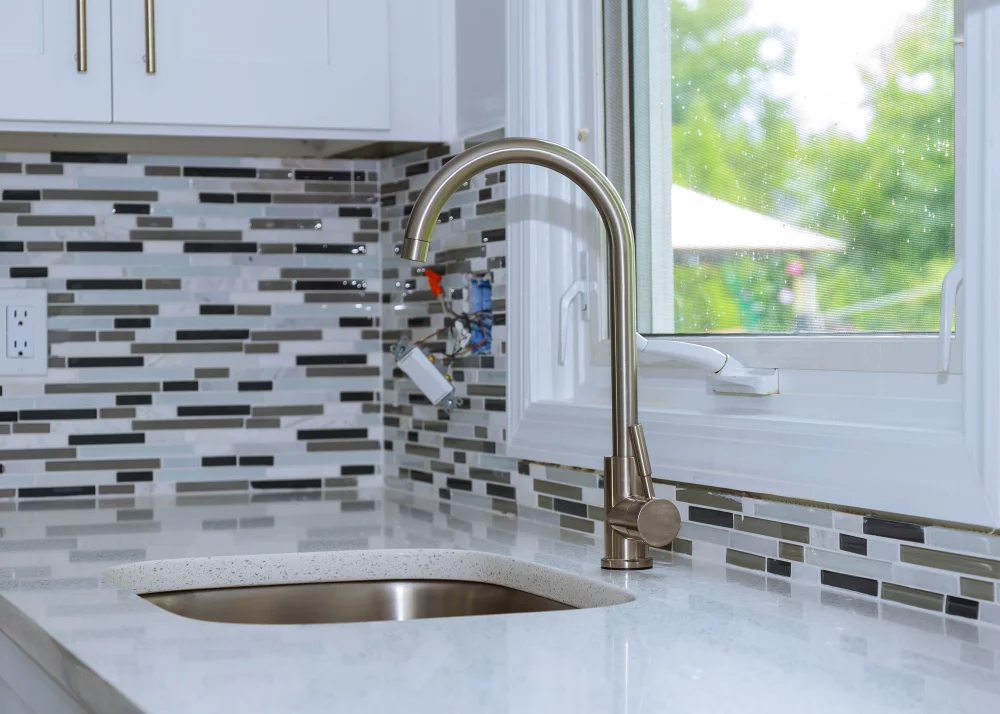
- Glass: To make the surface look sleek and expensive, there’s no better pick than a peel-and-stick glass backsplash.
- Stone veneer: This material is composed of an adhesive agent and crushed stone, making it lighter in weight and simpler to work with than natural stone.
- Gel: Gel peel-and-stick backsplashes are flexible, easy to install, and soft to the touch. Additionally, they look more authentic and three-dimensional compared to other synthetic tiles.
- Metal: Though a bit more costly, metal tile backsplashes are durable, clean-cut in appearance, and easy to maintain.
Pros & Cons of Peel-and-Stick Backsplashes
Choosing peel-and-stick backsplashes over traditional tiles carries both pros and cons — and familiarizing yourself with each side can assist in making the best choice for your interior.
Pros
- Versatile. Peel-and-stick backsplashes are available in various colors, materials, and designs.
- Affordable. They have a low initial cost, and the installation can be DIY-ed, eliminating any additional labor charges.
- Easy to install. Note down accurate dimensions of the intended space, peel off the backing sheet of the tiles, and stick them onto the wall.
- Easy to replace. Using peel-and-stick tiles makes seasonal or annual home decor upgrades much easier and more affordable!
Cons
- Lack depth. Peel-and-stick tiles don’t look as real and authentic as traditional tiles.
- Wear out easily. The tiles tend to break down, fall off, or damage the wall behind them.
- Low value. Quick and cheap fixes like stick-on backsplashes don’t appeal to homebuyers and can put off potential clients when selling your home.
- Encourage mold growth. The tiles have gaps between them, and if moisture seeps in, there is a risk of mold growth.
- Can be expensive. Options like stone and metal peel-and-stick backsplashes fall on the higher end of kitchen backsplash pricing.
Price of A Peel-and-Stick Backsplash
Stick-on tiles are the perfect kitchen backsplash for people working around a budget while looking to give their space a quick uplift. The cost per square foot ranges between $6 to over $25, depending on the quality of tiles you choose. The best part is that you’ll save on expenses like mortar, tools, grout, and labor.
Tips & Tricks To Stick The Tiles Efficiently
Before diving into the tiling project, it is vital to look into a few tips and tricks to ensure sleek and flawless results.
Conclusion
Now that you’re familiar with the amazing appearance a peel-and-stick backsplash brings to your kitchen, it's time to hop to the nearest tiling store and grab your favorite set to transform your tired kitchen now! The best part? The labor will take only one afternoon!
Find more articles about kitchen remodeling in the KITCHEN section of the KBF BLOG.